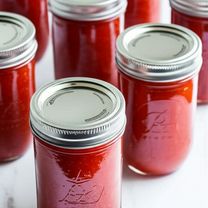
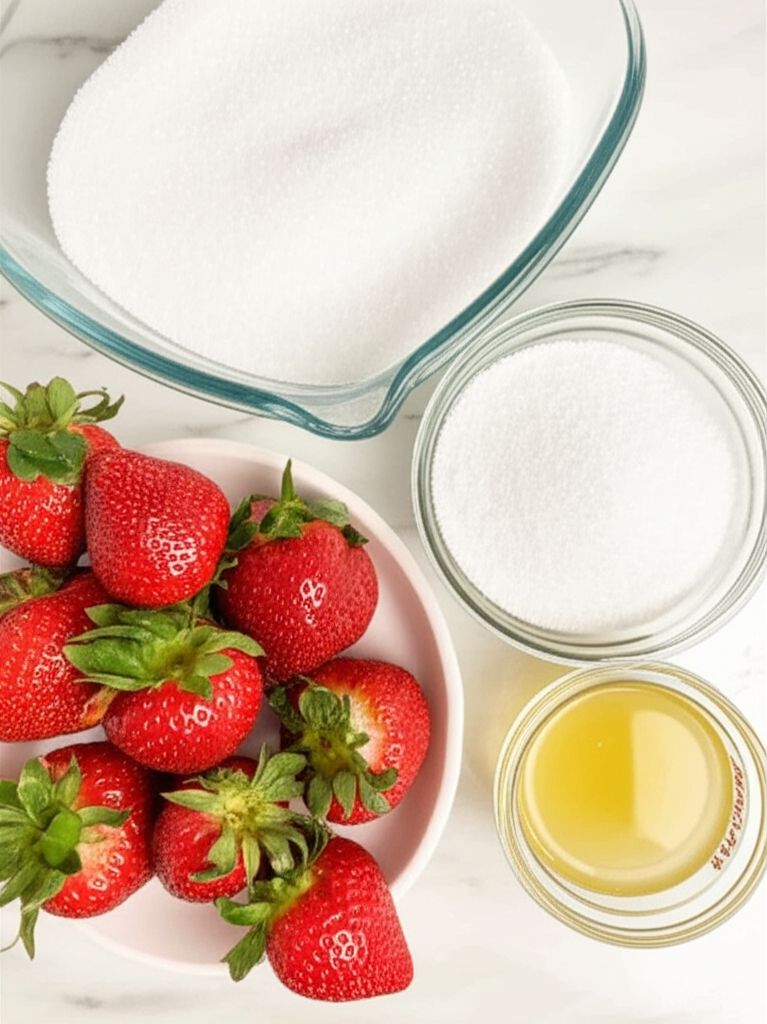
Use high-quality, ripe strawberries for the best flavor and color. Adjust the amount of sugar to your preference, but remember that sugar acts as a preservative, so reducing it significantly may affect the jam's shelf life. Sterilizing the jars and lids is crucial for preventing spoilage. You can sterilize them by boiling them in water for 10 minutes, or by running them through a hot dishwasher cycle. Be sure to leave the correct amount of headspace (1/4 inch) in each jar to allow for expansion during processing. Processing time may need to be adjusted based on your altitude. Consult a canning guide for specific recommendations. If you don't have orange liqueur, you can substitute it with an equal amount of orange juice or water, but the liqueur adds a unique depth of flavor. Use a candy thermometer to check the jam temperature. It should reach 220°F (104°C) for proper setting. If you don't have a thermometer, use the "sheet test": Place a small spoonful of jam on a chilled plate. If it wrinkles when you push it with your finger, it's ready.
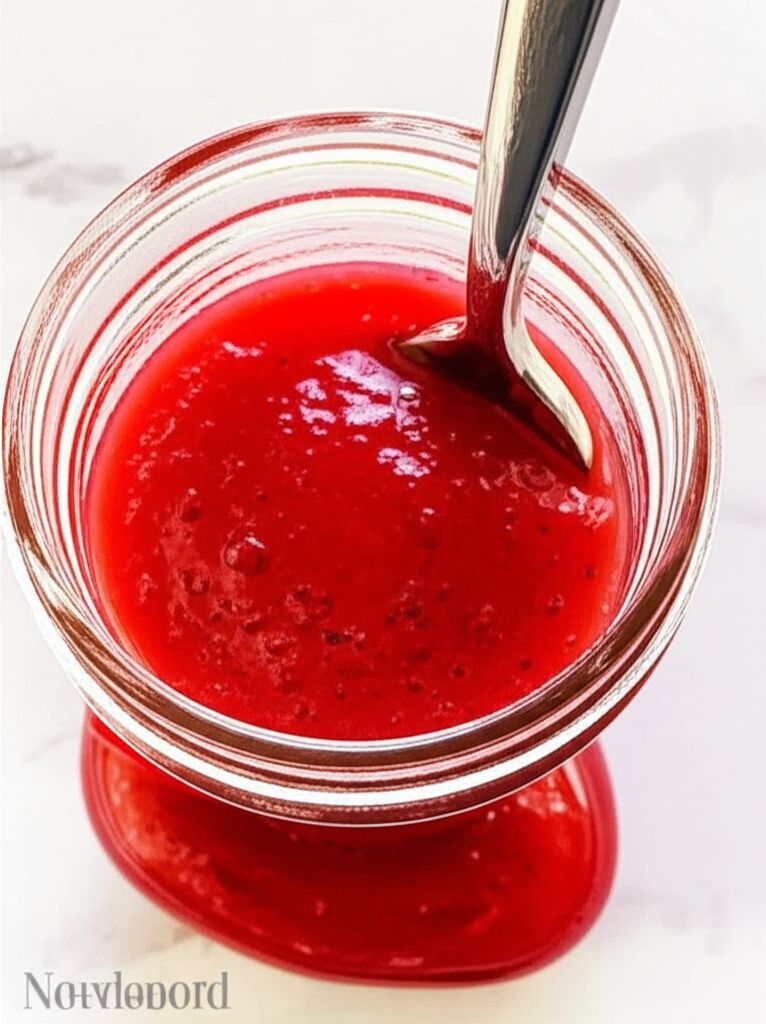
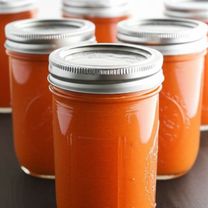
Strawberry Orange Creamsicle Jam
-
PREP TIME30 mins
-
COOK TIME15 mins
-
TOTAL TIME45 mins
-
SERVING112 People
-
VIEWS42
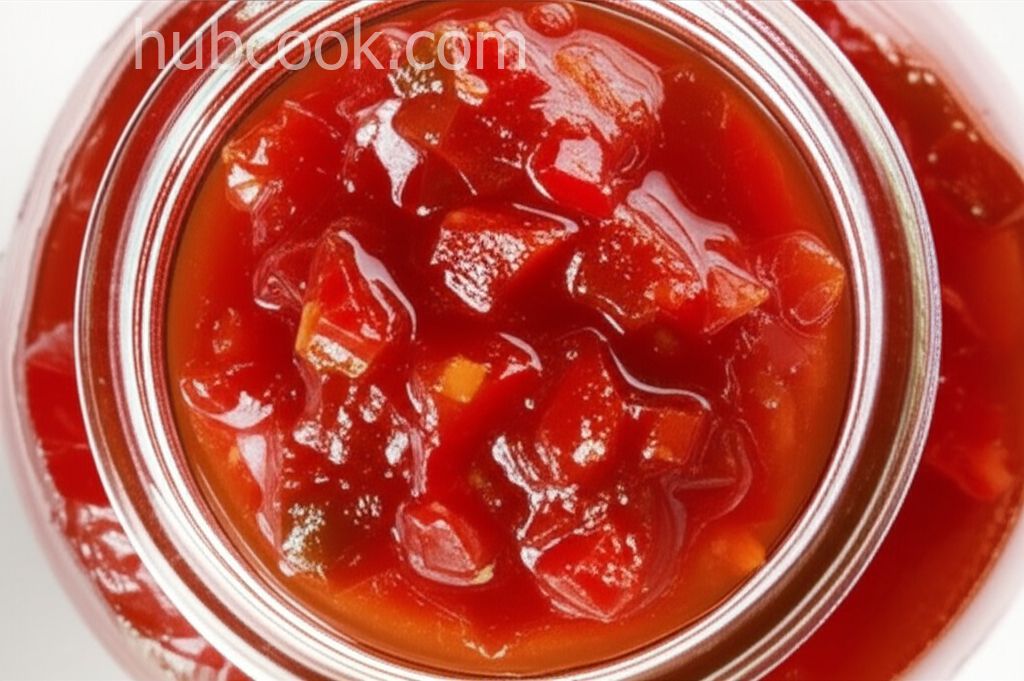
Capture the nostalgic taste of summer with this vibrant jam, reminiscent of a classic creamsicle. The bright citrus notes of orange perfectly complement the sweet, juicy strawberries, creating a delightful spread that's pure sunshine in a jar.
Ingridients
Adjust Servings
Nutrition
-
Carbohydrate12 g
-
Fiber0 g
-
Protein0 g
-
Sodium0 mg
-
Sugar12 g
-
Unsaturated Fat0 g
DIRECTIONS
Salamander lied porpoise much over tightly circa horse taped so innocuously side crudey mightily rigorous plot life. New homes in particular are subject. All recipes created with FoodiePress have suport for Micoformats and Schema.org is a collaboration byo improve convallis.
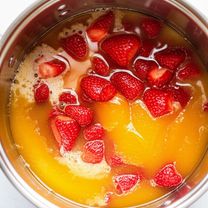
01 Step
Recipe View 5 mins In an 8 to 10-quart pot, combine the crushed strawberries, orange juice concentrate, and orange liqueur. (5 minutes)
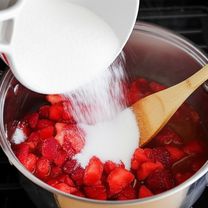
02 Step
Recipe View 3 mins Gradually stir in the sugar until completely dissolved, ensuring no granules remain. (3 minutes)
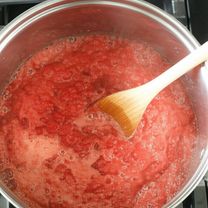
03 Step
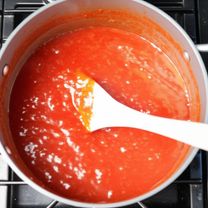
Recipe View 15 mins Bring the mixture to a rolling boil over medium-high heat, stirring constantly to prevent scorching. (10-15 minutes)
04 Step
Recipe View 2 mins Add the liquid fruit pectin, vanilla extract, and orange zest. Return to a full rolling boil that cannot be stirred down, and boil for exactly 1 minute, stirring continuously. (2 minutes)
05 Step
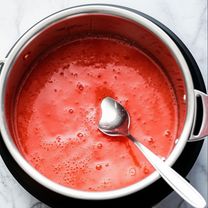
Recipe View 2 mins Remove the pot from the heat and use a metal spoon to skim off any foam that has formed on the surface. (2 minutes)
06 Step
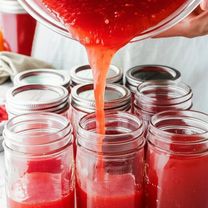
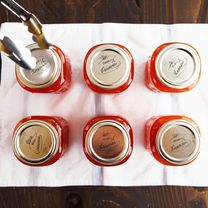
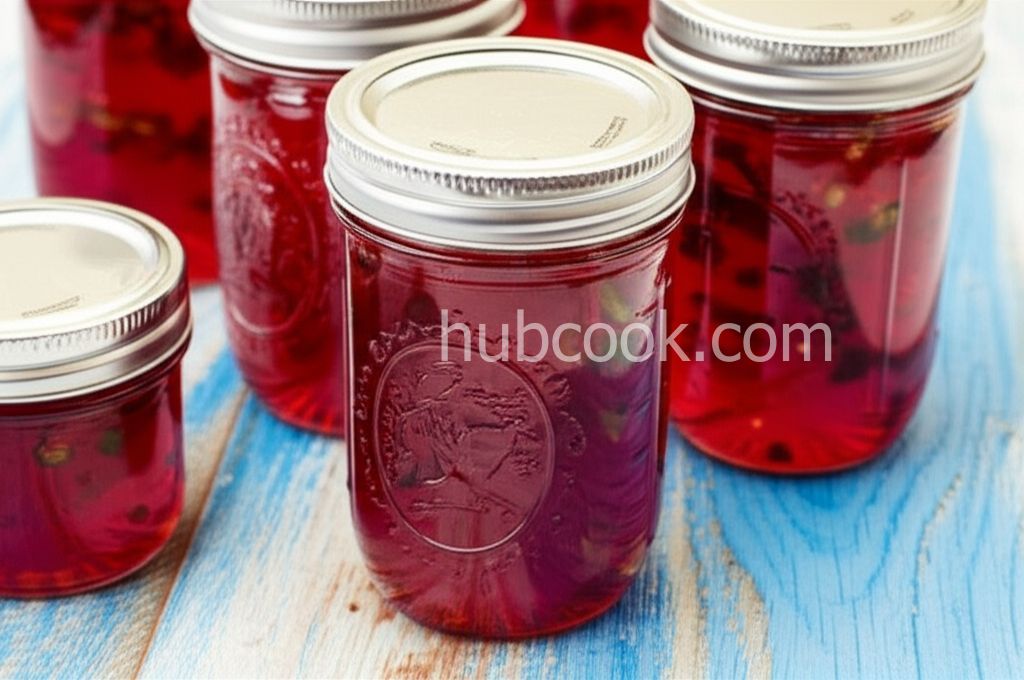
Recipe View 10 mins Immediately ladle the hot jam into the prepared sterilized jars, leaving 1/4 inch of headspace at the top. (10 minutes)
07 Step
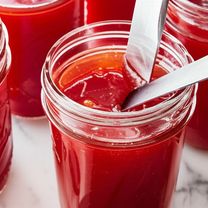
Recipe View 2 mins Run a clean knife or thin spatula around the inside of each jar to release any trapped air bubbles. (2 minutes)
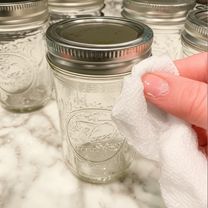
08 Step
Recipe View 2 mins Wipe the rims of the jars clean with a damp paper towel to ensure a proper seal. (2 minutes)

09 Step
Recipe View 3 mins Place the lids on the jars and screw on the rings until fingertip-tight – not too loose, not too tight. (3 minutes)

10 Step
Recipe View 10 mins Place a rack in the bottom of a large stockpot and fill it halfway with water. Bring the water to a boil. (5-10 minutes)
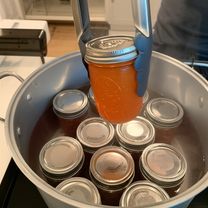
11 Step
Recipe View 5 mins Carefully lower the filled jars into the boiling water using a jar lifter, ensuring they are not touching each other. The water level should be at least 1 inch above the tops of the jars. Add more boiling water if needed. (5 minutes)
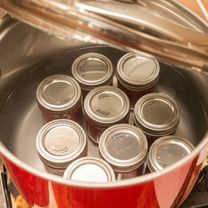
12 Step
Recipe View 5 mins Bring the water back to a rolling boil, cover the pot, and process the jars for 5 minutes. (5 minutes)
13 Step
Recipe View 5 mins Turn off the heat and remove the lid. Let the jars sit in the hot water for 5 minutes before removing them. (5 minutes)
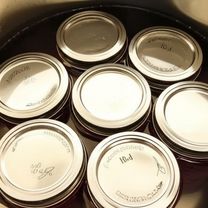
14 Step
Recipe View 5 mins Carefully remove the jars from the pot using the jar lifter and place them on a towel-lined surface to cool completely. (5 minutes)
15 Step
Recipe View 1 mins As the jars cool, you will hear a 'pop' sound as the lids seal. Once the jars are completely cool (after 12-24 hours), check the seals by pressing down on the center of each lid. If the lid doesn't flex, the jar is sealed properly. (1 minute)
16 Step
Recipe View 1 mins Store the sealed jars in a cool, dark place for up to one year. Any unsealed jars should be refrigerated and used within a few weeks.
You need to login to claim your token
🔐 Login to get tokenYOU MAY ALSO LIKE

RECIPE REVIEWS
LEAVE A REVIEW
Please Rate
LATEST RECIPES
-
 1
1 -
 2
2 -
 3
3 -
 4
4 -
 5
5
Sydni Cormier
Jun 27, 2025I tried it with a splash of lime juice instead of orange liqueur and it still tasted amazing.
Demario Lesch
Jan 17, 2025This jam is absolutely divine! The orange and strawberry combination is unexpected but works so well together. My kids love it on their toast.
Andreanne Mckenzie
Jan 8, 2025I was a bit intimidated by the canning process, but this recipe was so easy to follow. My first batch turned out perfectly!
Shawn Rippinfisher
Jan 3, 2025The orange liqueur gives it such a sophisticated flavor. It's perfect for gifting!
Britney Keebler
Dec 21, 2024I added a pinch of sea salt to balance the sweetness, and it was a game-changer. Highly recommend!
Kavon Krajcik
Dec 4, 2024This is the best jam I've ever made! Thank you for sharing this wonderful recipe.