For the best flavor, use high-quality, fresh whole milk. Avoid ultra-pasteurized milk, as it may not curdle properly. Freshly squeezed lemon juice provides the best flavor. Bottled lemon juice can be used, but the taste may be slightly different. Adjust the amount of lemon juice depending on the milk's fat content and freshness. You may need slightly more or less to achieve proper curdling. Don't discard the whey! It's rich in nutrients and can be used in baking, soups, or smoothies. The pressing time determines the firmness of the paneer. For a softer paneer, reduce the pressing time. For a firmer paneer suitable for grilling, increase the pressing time and weight. If you don't have cheesecloth, a clean, tightly woven cotton kitchen towel can be used as a substitute.
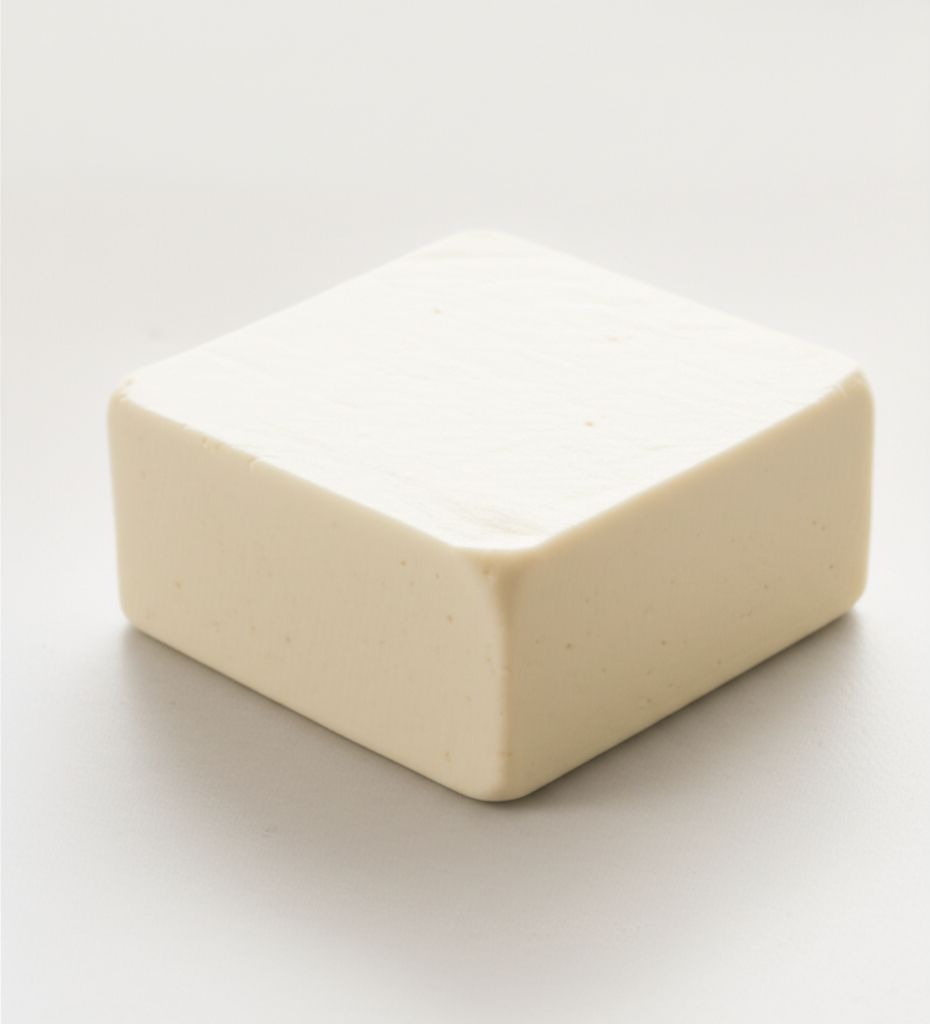
Best Homemade Paneer
-
PREP TIME10 mins
-
COOK TIME20 mins
-
TOTAL TIME2 hrs 30 mins
-
SERVING16 People
-
VIEWS10
Embark on a culinary adventure and craft your very own fresh paneer, a cornerstone of Indian cuisine. This simple recipe transforms humble ingredients into a creamy, versatile cheese, perfect for curries, appetizers, or grilling.
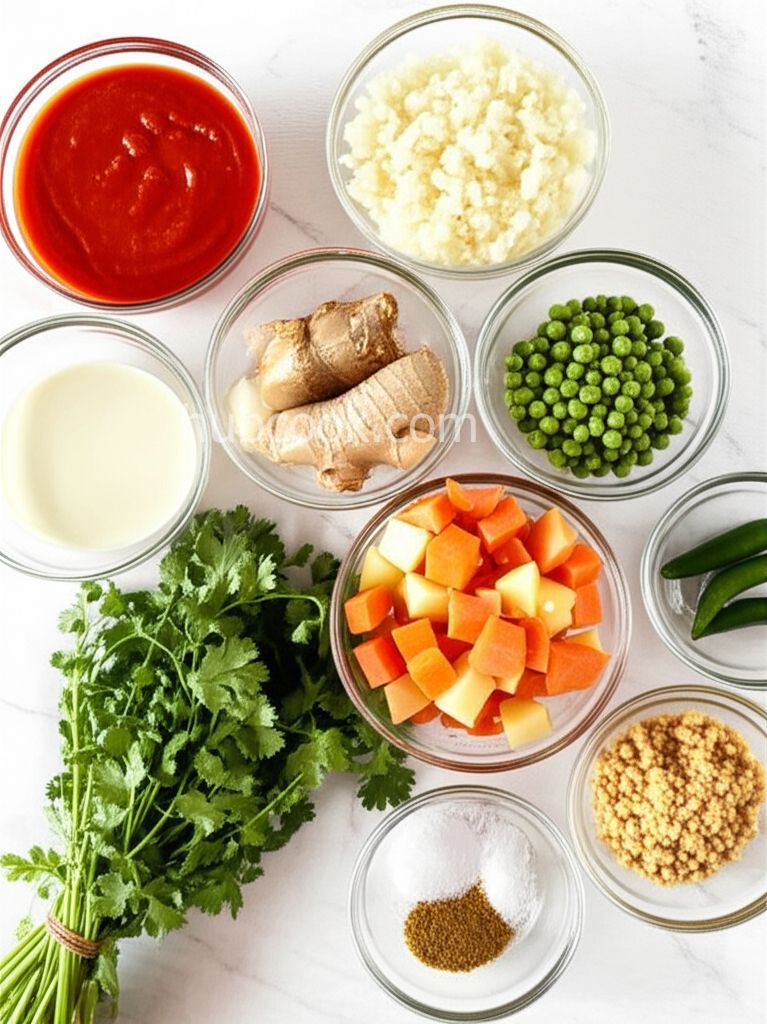
Ingridients
Adjust Servings
Nutrition
-
Carbohydrate12 g
-
Cholesterol24 mg
-
Protein8 g
-
Saturated Fat5 g
-
Sodium153 mg
-
Sugar11 g
-
Fat8 g
-
Unsaturated Fat0 g
Follow The Directions
01
Step
5 mins
Prepare your draining station: Line a colander with a damp piece of muslin or several layers of cheesecloth. Set the colander in your sink or over a large bowl to collect the whey.
02
Step
15 mins
Heat the milk: Pour the whole milk into a large, heavy-bottomed saucepan. Heat over medium-low heat, stirring frequently to prevent scorching, until it reaches 200°F (93°C). A thermometer is essential for accuracy. Once the milk reaches temperature, stir in the sea salt.
03
Step
5 mins
Curdle the milk: Gradually add the fresh lemon juice, one tablespoon at a time, to the heated milk. Gently stir after each addition. Continue until the milk visibly separates into curds and whey. This may take a few minutes.
04
Step
5 mins
Drain the curds: Carefully ladle the curds and whey into the prepared colander lined with muslin or cheesecloth.
05
Step
5 mins
Press the paneer: Fold the muslin or cheesecloth over the curds. Place a weight on top – a bowl filled with water works perfectly. Gently press to expel excess liquid.
06
Step
2 hrs
Chill and set: Let the paneer drain under weight for 2 to 3 hours in the refrigerator. The longer it presses, the firmer it will become.
You need to login to claim your token
🔐 Login to get tokenYOU MAY ALSO LIKE

RECIPE REVIEWS
LEAVE A REVIEW
Please Rate


Marcia Weber
Jul 1, 2025I have tried several times and it always works.
Shayna Price
Jun 30, 2025I used the whey to make naan, and it was incredible! Thanks for the tip.
Sandy Hauck
Jun 30, 2025I was a bit nervous about making cheese at home, but this recipe made it seem so approachable. Thanks!
Seth Abshire
Jun 28, 2025This recipe was so easy to follow, and the paneer turned out perfectly! I'll never buy store-bought again.
Robert Harber
Jun 27, 2025The paneer was a little too tart for my liking. Next time, I'll try using slightly less lemon juice.
Emiliano Rodriguez
Jun 27, 2025My family loved the homemade paneer! It was so much fresher and more flavorful than anything we've had before.
Luigi Bahringer
Jun 24, 2025I let the paneer drain overnight and it was perfect for grilling. Great recipe!