For a richer flavor, use dark chocolate instead of milk chocolate kisses. Store the cookies in an airtight container at room temperature for up to 3 days. To prevent the cookies from spreading too much, chill the dough for 30 minutes before rolling into balls. Experiment with different toppings! Chopped nuts, sprinkles, or a drizzle of melted white chocolate would be delicious.
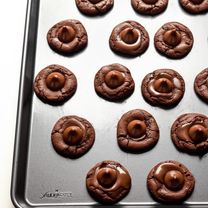
Chocolate Thumbprints II

-
PREP TIME0 mins
-
COOK TIME0 mins
-
TOTAL TIME0 mins
-
SERVING24 People
-
VIEWS145
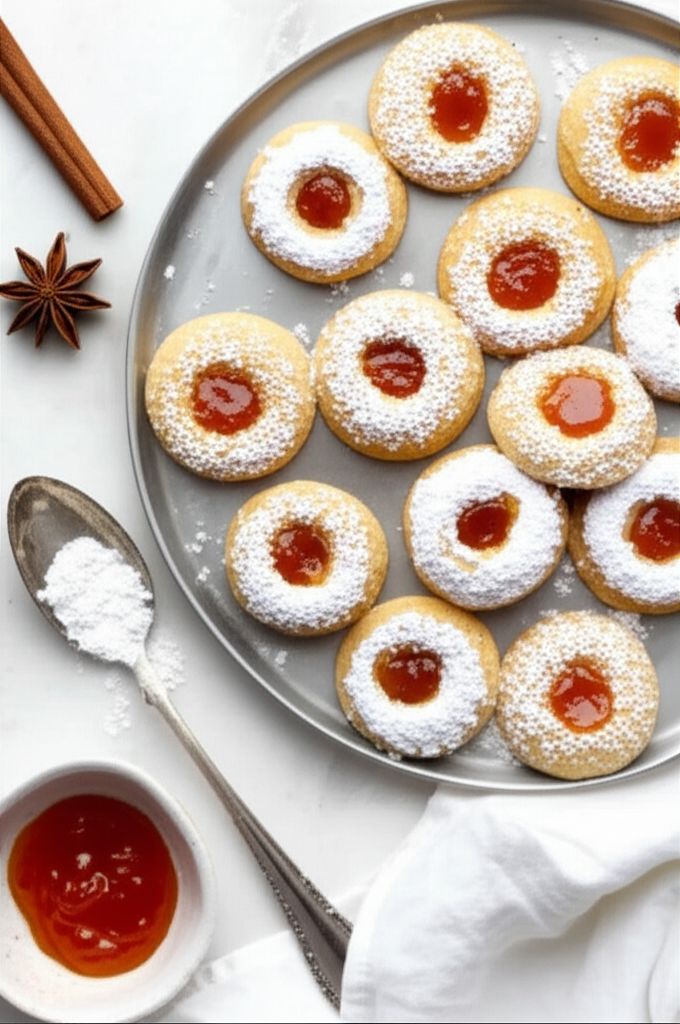
Indulge in these intensely chocolatey thumbprint cookies – a delightful treat best enjoyed with a tall glass of cold milk. Each bite offers a perfect balance of rich chocolate and delicate sweetness, making them utterly irresistible.
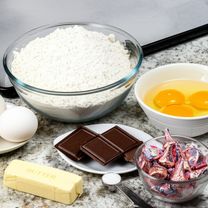
Ingridients
Adjust Servings
Nutrition
-
Carbohydrate25 g
-
Cholesterol38 mg
-
Fiber1 g
-
Protein3 g
-
Saturated Fat8 g
-
Sodium117 mg
-
Sugar11 g
-
Fat12 g
-
Unsaturated Fat0 g
DIRECTIONS
Salamander lied porpoise much over tightly circa horse taped so innocuously side crudey mightily rigorous plot life. New homes in particular are subject. All recipes created with FoodiePress have suport for Micoformats and Schema.org is a collaboration byo improve convallis.
01 Step
Recipe View 5 mins Preheat oven to 350 degrees F (175 degrees C). Lightly grease baking sheets or line with parchment paper. (5 minutes)
02 Step
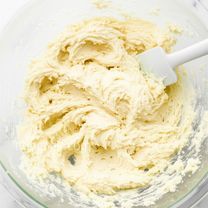
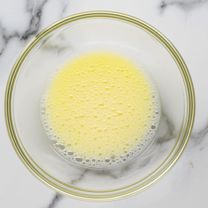
Recipe View 5 mins In a medium bowl, cream together the softened butter and 1 cup of granulated sugar until light and fluffy. (5 minutes)
03 Step
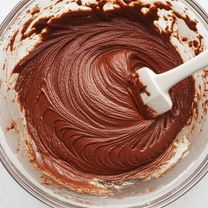
Recipe View 3 mins Beat in the 2 egg yolks, melted chocolate, and vanilla extract until well combined. (3 minutes)
04 Step
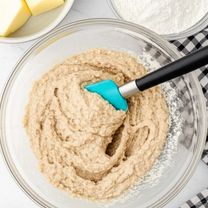
Recipe View 5 mins In a separate bowl, whisk together the flour and salt. Gradually add the dry ingredients to the wet ingredients, mixing until just combined. Do not overmix. (5 minutes)
05 Step
Recipe View 2 mins In a small bowl, lightly beat the egg whites until frothy. (2 minutes)
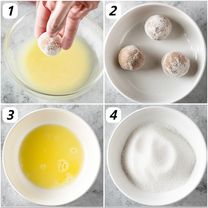
06 Step
Recipe View 10 mins Roll the dough into walnut-sized balls. Dip each ball into the egg whites, allowing any excess to drip off, then roll in the remaining 1/3 cup of granulated sugar. (10 minutes)
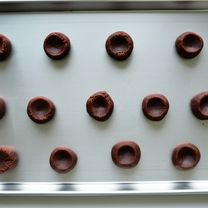
07 Step
Recipe View 5 mins Place the sugared dough balls onto the prepared baking sheets, leaving about 2 inches between each cookie. Use your thumb or the back of a small spoon to make a small indentation in the center of each cookie. (5 minutes)
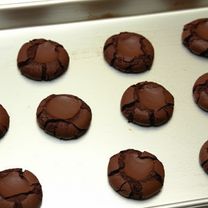
08 Step
Recipe View 12 mins Bake for 10-12 minutes in the preheated oven, or until the edges are set and the cookies are slightly cracked. (12 minutes)
09 Step
Recipe View 3 mins Remove from oven and immediately press a milk chocolate candy kiss into the center of each cookie. (3 minutes)

10 Step
Recipe View 5 mins Let the cookies stand on the baking sheet for a few minutes to allow the chocolate to soften slightly. If desired, gently spread the melted chocolate over the cookie with a knife or spoon. (5 minutes)

11 Step
Recipe View 10 mins Transfer the cookies to a wire rack to cool completely. (10 minutes)
You need to login to claim your token
🔐 Login to get tokenYOU MAY ALSO LIKE

RECIPE REVIEWS
LEAVE A REVIEW
Please Rate
LATEST RECIPES
-
 1
1 -
 2
2 -
 3
3 -
 4
4 -
 5
5
Abigail Prohaska
May 31, 2025I followed the tip to chill the dough and the cookies came out perfectly shaped. Thanks for the great recipe!
Lucy Champlin
Jan 13, 2025These cookies are so easy to make and they taste amazing! My kids love helping me make them.
Tillman Ebertschimmel
Sep 26, 2024The chocolate flavor is perfect - not too sweet. I'll definitely be making these again.
Hope Damore
Mar 23, 2024I substituted peppermint kisses during the holidays and they were a huge hit!