For an even crispier crust, you can add a few ice cubes to the bottom of the Dutch oven when you remove the lid for the final baking stage. Be careful of the steam! If you don't have a Dutch oven, you can bake the loaf on a baking sheet with a tray of water underneath to create steam. Experiment with different types of flour to add complexity to the flavor. Whole wheat flour, rye flour, or even a touch of semolina can be delicious additions. The long fermentation time can be adjusted slightly based on your schedule and room temperature. A slightly shorter or longer rise won't significantly impact the final result.
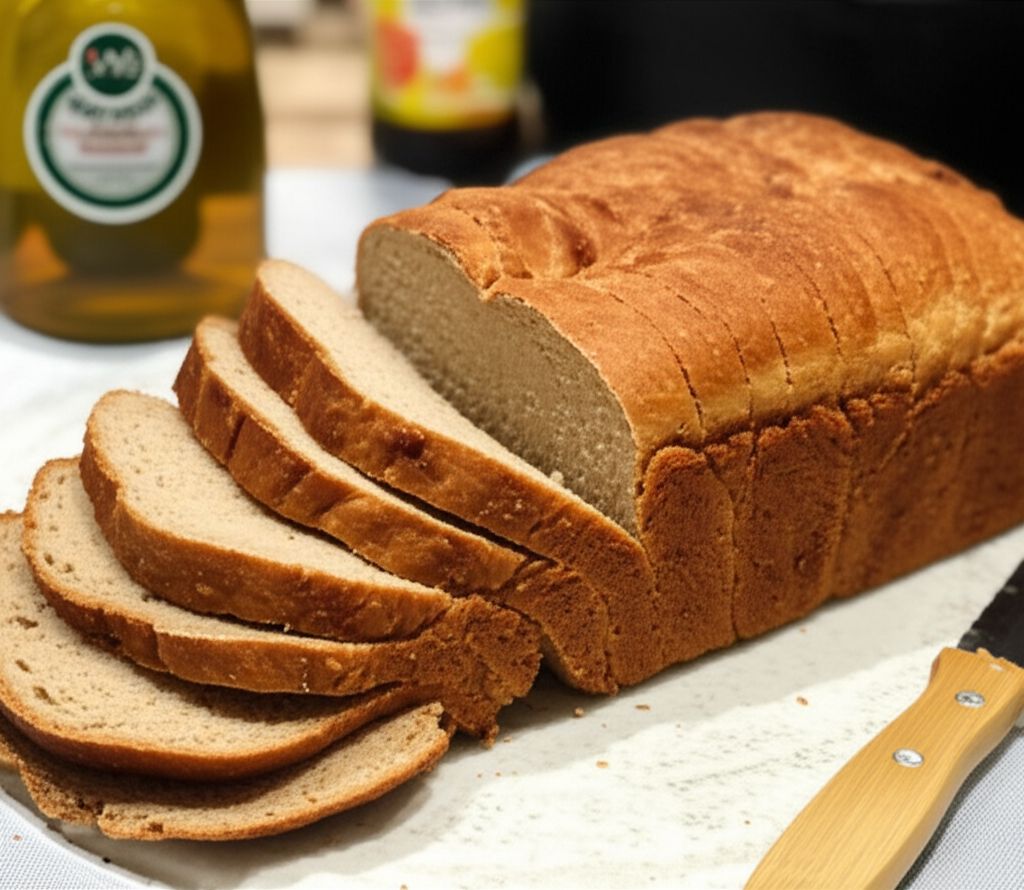
No-Knead Country Bread
-
PREP TIME20 mins
-
COOK TIME30 mins
-
TOTAL TIME20 hrs 50 mins
-
SERVING12 People
-
VIEWS124
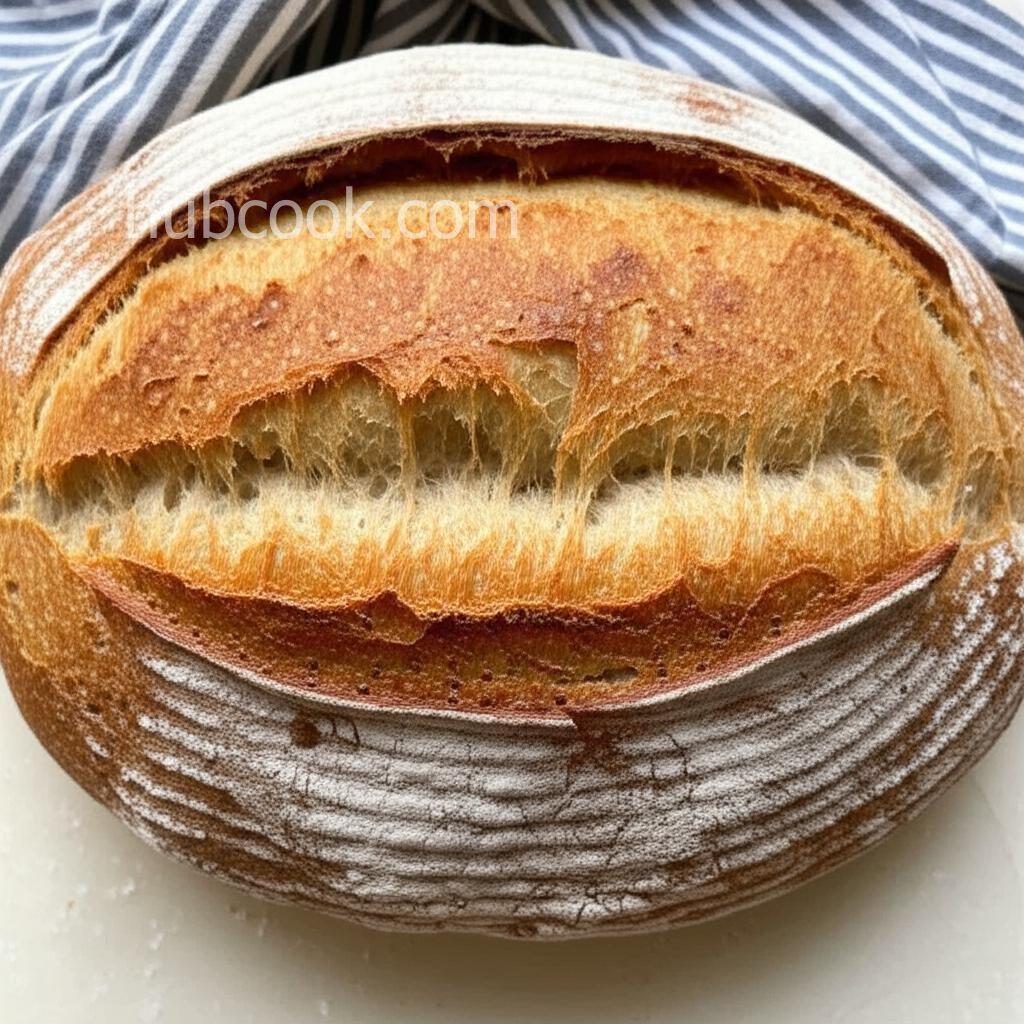
Embark on a culinary adventure with this incredibly easy, no-knead country bread recipe. Achieve bakery-quality results with minimal effort. The long fermentation yields a complex flavor and satisfyingly chewy texture. Perfect for novice bakers and seasoned pros alike.
Ingridients
Adjust Servings
Nutrition
-
Carbohydrate29 g
-
Fiber1 g
-
Protein5 g
-
Saturated Fat0 g
-
Sodium242 mg
-
Sugar0 g
-
Fat1 g
-
Unsaturated Fat0 g
DIRECTIONS
Salamander lied porpoise much over tightly circa horse taped so innocuously side crudey mightily rigorous plot life. New homes in particular are subject. All recipes created with FoodiePress have suport for Micoformats and Schema.org is a collaboration byo improve convallis.
01 Step
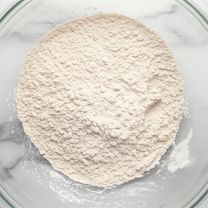
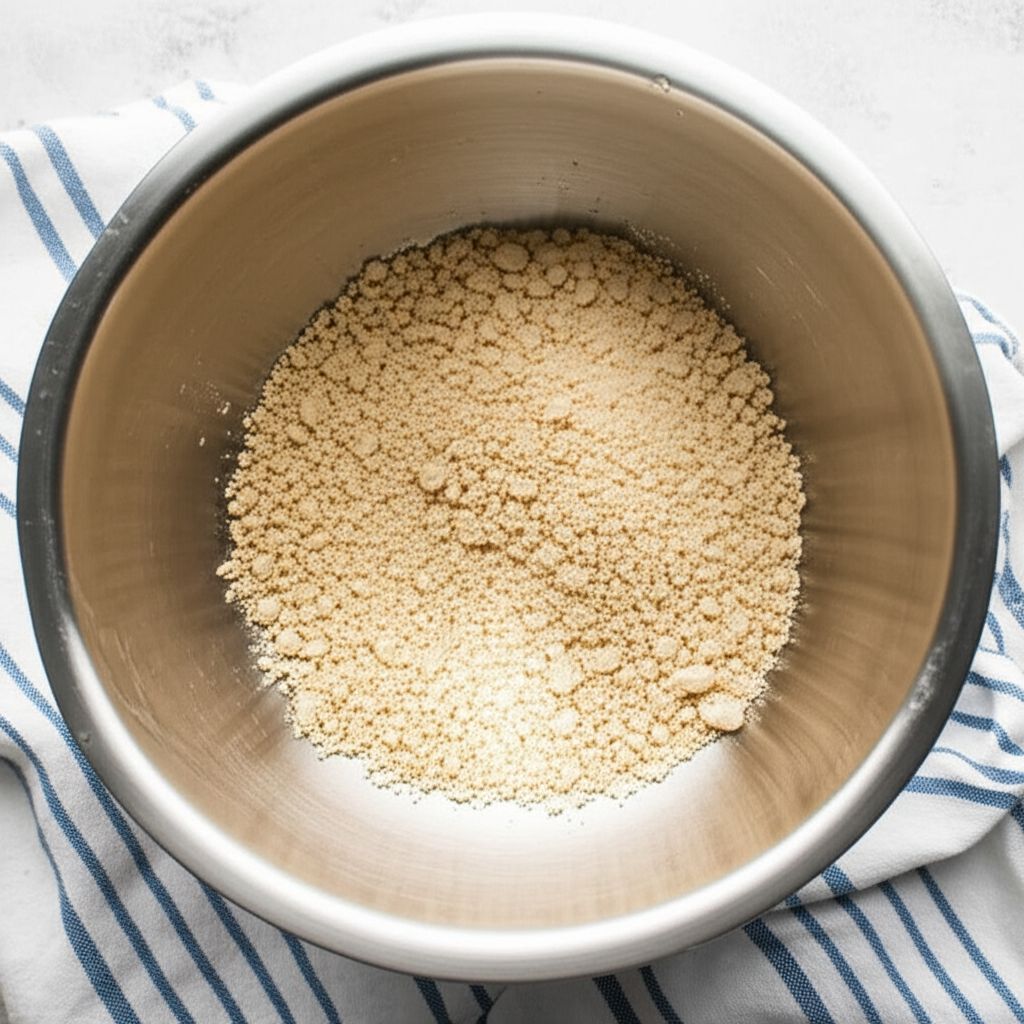
Recipe View 2 mins In a large bowl, combine the bread flour, spelt flour, and yeast. Stir well to distribute the yeast evenly. (2 minutes)
02 Step
Recipe View 3 mins Pour in the cold water and mix with a wooden spoon or your hands until a shaggy, wet dough forms. It will be quite sticky. (3 minutes)
03 Step
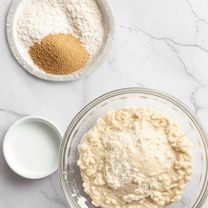
Recipe View 3 mins Add the salt and mix for another 2-3 minutes until it is evenly incorporated. The dough will still be wet and sticky.
04 Step
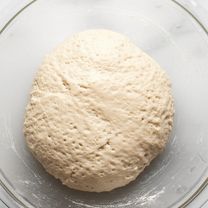
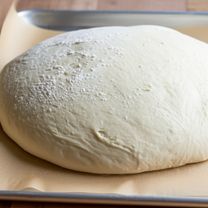
Recipe View 18 hrs Scrape down the sides of the bowl, cover tightly with plastic wrap or a lid, and let rise at room temperature for 18 hours. This long fermentation is key to the bread's flavor and texture.
05 Step
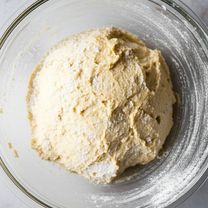
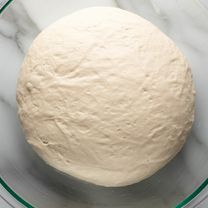
Recipe View 5 mins After 18 hours, the dough will be bubbly and significantly expanded. Deflate the dough by gently scraping down the sides of the bowl with a spatula and folding the dough over itself about 12 times. Turn the bowl as you go to ensure even deflation. (5 minutes)
06 Step
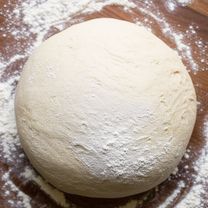
Recipe View 3 mins Generously flour a clean work surface. Gently scrape the dough onto the floured surface and sprinkle the top of the dough with more flour.
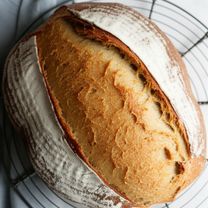
07 Step
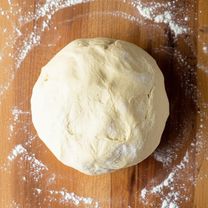
Recipe View 2 mins Using floured hands, gently shape the dough into a round or oval loaf. Be careful not to overwork the dough. A smooth surface is ideal. (2 minutes)
08 Step
Recipe View 2 hrs Transfer the shaped loaf to a baking sheet lined with parchment paper. Let rise, uncovered, for about 2 hours, or until doubled in size. It will spread more than rise upwards.

09 Step
Recipe View 30 mins Preheat the oven to 450 degrees F (230 degrees C) with a rack in the center. Place a Dutch oven with its lid inside to preheat as well. (30 minutes)
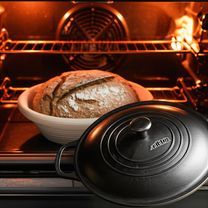
10 Step
Recipe View 5 mins Carefully remove the preheated Dutch oven from the oven. Remove the lid. Gently transfer the loaf into the hot Dutch oven. (5 minutes)
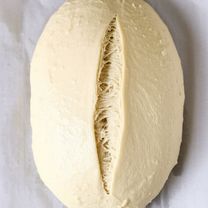
11 Step
Recipe View 2 mins Use a sharp knife or razor to score a shallow slash down the center of the loaf. This helps control the expansion during baking. Lightly spray the surface with water to encourage a crispy crust. (2 minutes)
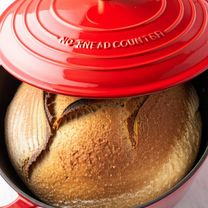
12 Step
Recipe View 30 mins Cover the Dutch oven with the lid and bake for 30 minutes.
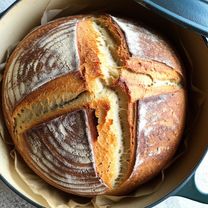
13 Step
Recipe View 20 mins Remove the lid and bake for another 15-20 minutes, or until the crust is deeply golden brown and the internal temperature reaches 200-210 degrees F (93-99 degrees C). (20 minutes)
14 Step
Recipe View 1 hrs Carefully remove the loaf from the Dutch oven and let it cool completely on a wire rack before slicing and serving. (60 minutes)
You need to login to claim your token
🔐 Login to get tokenYOU MAY ALSO LIKE

RECIPE REVIEWS
LEAVE A REVIEW
Please Rate


Precious Hintz
Mar 20, 2025The crust is unbelievably crispy, and the inside is so soft and chewy. My family devoured it!
Clare Schaden
Feb 13, 2025This recipe is a game-changer! I never thought I could bake bread this good at home.
Yazmin Leuschke
Jun 22, 2024I was intimidated by bread baking, but this recipe is so simple and straightforward. Thank you!
Hyman Luettgen
Jun 17, 2024I added some rosemary and garlic to the dough, and it was amazing! This recipe is a great base for experimentation.