Use filtered or spring water to avoid chlorine, which can inhibit yeast growth. Maintain a consistent room temperature for best results. An ideal temperature is between 70-75°F (21-24°C). If you see any mold growth, discard the starter and begin again. The starter is ready to use when it doubles in size within 4-6 hours after feeding. Be patient! Developing a starter takes time and attention.
Rye Starter
-
PREP TIME0 mins
-
COOK TIME0 mins
-
TOTAL TIME0 mins
-
SERVING4 People
-
VIEWS15
Embark on a rewarding journey to cultivate your own vibrant rye sourdough starter. This method, steeped in tradition, harnesses the power of wild yeasts to create a flavorful foundation for your baking adventures.
Ingridients
Adjust Servings
Nutrition
-
Carbohydrate72 g
-
Fiber7 g
-
Protein11 g
-
Saturated Fat0 g
-
Sodium2 mg
-
Sugar0 g
-
Fat2 g
-
Unsaturated Fat0 g
Follow The Directions
01
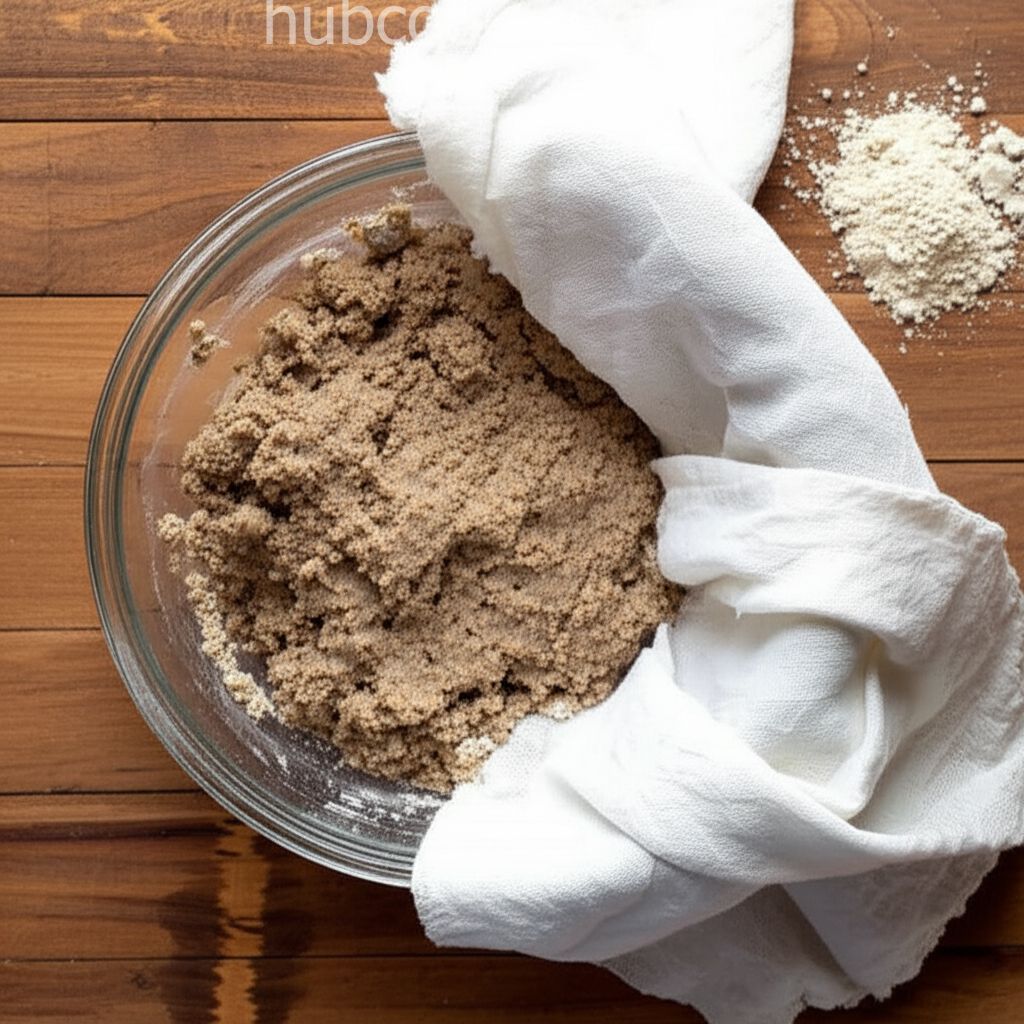
StepDay 1: In a small bowl, combine 1/2 cup rye flour with 1/4 cup water until a thick paste forms. (Estimated time: 5 minutes). Cover the bowl with a damp cloth and let it rest at room temperature for 24 hours.
02
StepDay 2 & 3: Stir the mixture well, then discard half of the rye flour paste. (Estimated time: 2 minutes). Add 1/2 cup rye flour and 1/4 cup water to the remaining paste and stir to combine. Cover with a damp cloth and let it rest at room temperature for another 24 hours. Repeat this process on day three.
03
StepDay 4: You should now notice some activity, such as bubbles forming in the starter. (Estimated time: 2 minutes). Stir well. Measure the starter and transfer it to a 1-quart glass jar. Add equal amounts of water and bread flour (based on the starter measurement). Stir well and add more water until the starter reaches a thick but pourable batter consistency. Let it rest for 24 hours.
04
StepDay 5: The starter should be very active with lots of bubbles. (Estimated time: 2 minutes). Stir well. Measure, and return 1 cup of starter to the jar. Begin feeding regularly, every 4 to 6 hours, doubling the starter each time. For example, if you have 1 cup of starter, add 1 cup of bread flour and 1 cup of water.
You need to login to claim your token
🔐 Login to get tokenYOU MAY ALSO LIKE
RECIPE REVIEWS
LEAVE A REVIEW
Please Rate
LATEST RECIPES
-
 1
1 -
 2
2 -
 3
3 -
 4
4 -
 5
5
Leola Rippin
Jun 4, 2025I was intimidated by the idea of making a starter, but this recipe made it approachable and fun.
Ellsworth Wilderman
May 16, 2025My starter took a little longer to get going, but it was worth the wait!
Arvel Shields
May 8, 2025Great tips! The reminder about water quality was especially helpful.
Seamus Weissnat
May 1, 2025This recipe was so easy to follow! My starter is now super active and ready to bake with!