Maintaining a stable temperature for the starter and sponge is crucial for success. Use a reliable thermometer and adjust the heat source as needed. The quality of the cornmeal significantly impacts the flavor and fermentation. Stone-ground cornmeal, which retains the germ, is highly recommended. Don't be discouraged if your first attempt isn't perfect. Salt Rising Bread can be finicky, but with practice, you'll master the technique. For a richer flavor, try using lard instead of shortening. Lard was a traditional ingredient in Salt Rising Bread and adds a subtle, savory note. To preserve the culture: Save 1/4 cup of a successful sponge and pour it into a saucer, cover with cheesecloth and allow to dry. Store dried flakes in plastic in a cool, dry place or freeze until needed. When ready to make the bread; dissolve the flakes in the new warm starter and continue with recipe. This will give a flavor boost to your bread.
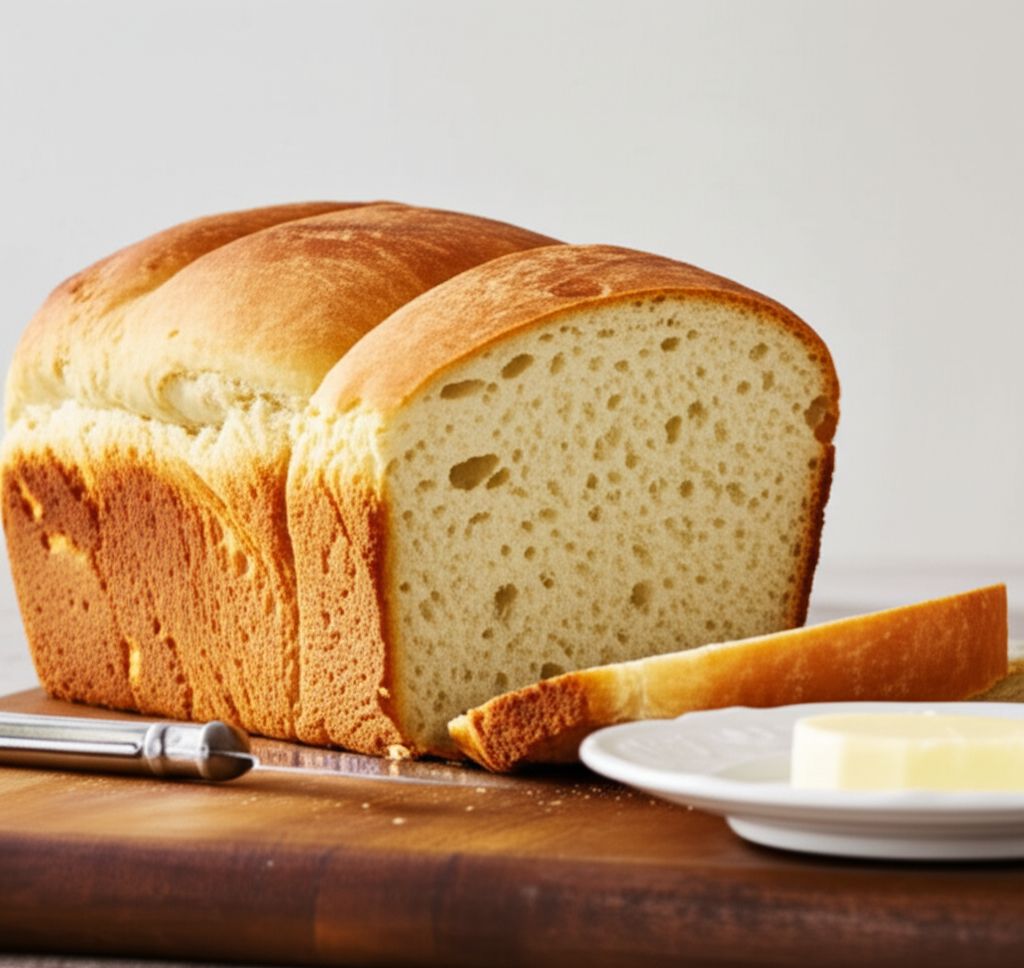
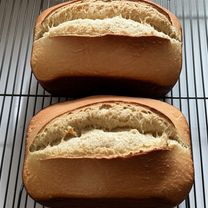
Salt Rising Bread
-
PREP TIME20 mins
-
COOK TIME30 mins
-
TOTAL TIME25 hrs
-
SERVING36 People
-
VIEWS90
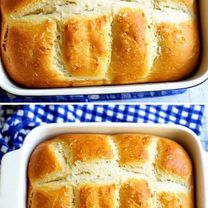
Embark on a baking adventure with this unique loaf! Salt Rising Bread boasts a distinctive, savory aroma and a satisfyingly dense crumb. It's a labor of love, but the unforgettable flavor makes it well worth the effort.
Ingridients
Adjust Servings
Nutrition
-
Carbohydrate24 g
-
Cholesterol1 mg
-
Fiber1 g
-
Protein3 g
-
Saturated Fat0 g
-
Sodium86 mg
-
Sugar1 g
-
Fat2 g
-
Unsaturated Fat0 g
DIRECTIONS
Salamander lied porpoise much over tightly circa horse taped so innocuously side crudey mightily rigorous plot life. New homes in particular are subject. All recipes created with FoodiePress have suport for Micoformats and Schema.org is a collaboration byo improve convallis.
01 Step
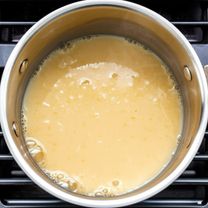
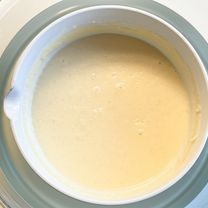
Recipe View 5 mins To Make Starter: Gently heat the milk in a saucepan until it is warm, not scalding. Stir in 1 tablespoon of the sugar, the cornmeal, and 1 teaspoon of the salt. (5 minutes)
02 Step
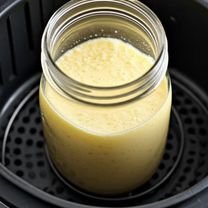
Recipe View 2 mins Pour this mixture into a clean glass jar. Place the jar in an electric skillet or slow cooker filled with warm water, maintaining a consistent temperature between 105 to 115 degrees F (40 to 47 degrees C). (2 minutes)
03 Step
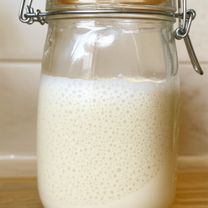
Recipe View 24 hrs Allow the starter to ferment for 7-12 hours, or even up to 24 hours, until you observe signs of fermentation, such as bubbles forming on the surface and a noticeable, pungent aroma. You may even hear a slight hissing sound as gas escapes. Do not proceed until the starter is actively fermenting. (7-24 hours)

04 Step
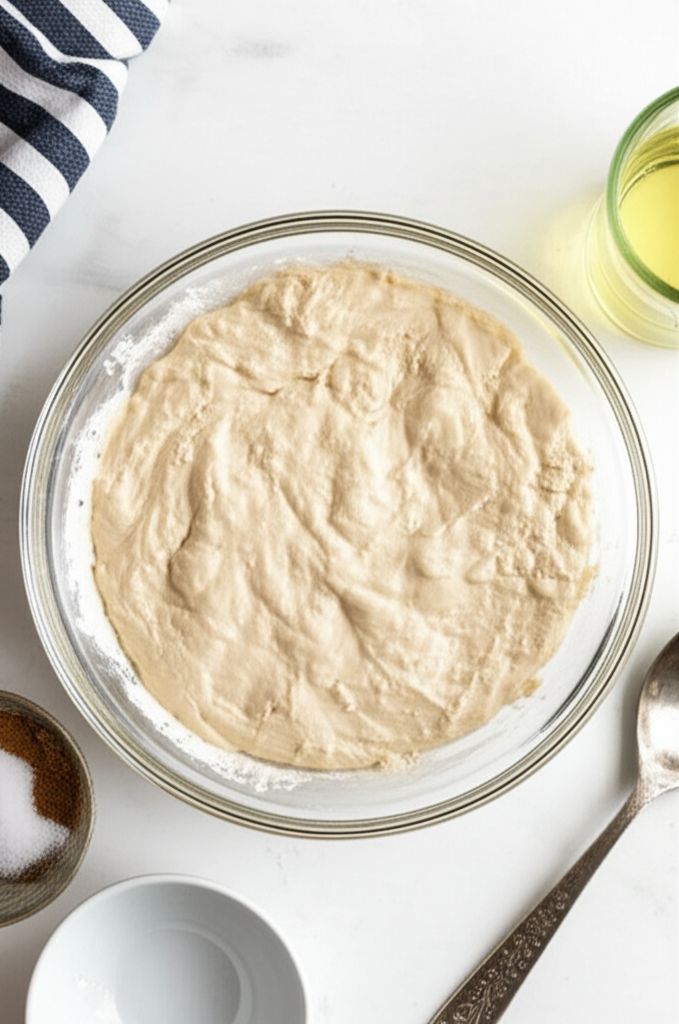
Recipe View 5 mins When the starter is bubbly and active, it's time to make the sponge. In a medium-sized bowl, combine the starter mixture with 2 cups of the warm water, 2 tablespoons of the sugar, the shortening, and 2 cups of all-purpose flour. (5 minutes)
05 Step
Recipe View 3 mins Beat the sponge vigorously until well combined and relatively smooth. Return the bowl to the warm water bath to maintain the temperature. (3 minutes)
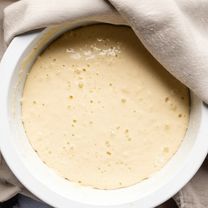
06 Step
Recipe View 2 hrs 30 mins Cover the bowl and let the sponge rise in the warm environment for 2 1/2 to 3 hours, or until it becomes light, airy, and full of bubbles. (2.5-3 hours)
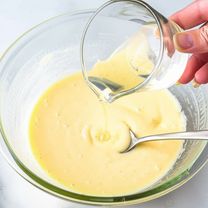
07 Step
Recipe View 2 mins Dissolve the baking soda in 1 tablespoon of warm water. Add this mixture to the sponge and stir gently to combine. (2 minutes)
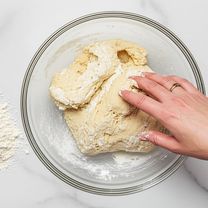
08 Step
Recipe View 10 mins Gradually incorporate 5 1/4 cups of flour into the sponge, kneading in additional flour as needed until the dough forms a smooth, manageable ball that is no longer sticky. (10 minutes)

09 Step
Recipe View 10 mins Knead the dough on a lightly floured surface for 10 minutes, until it becomes elastic and pliable. (10 minutes)
10 Step
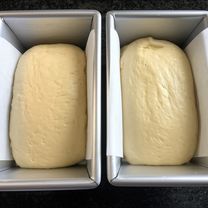
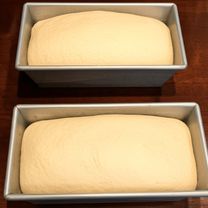
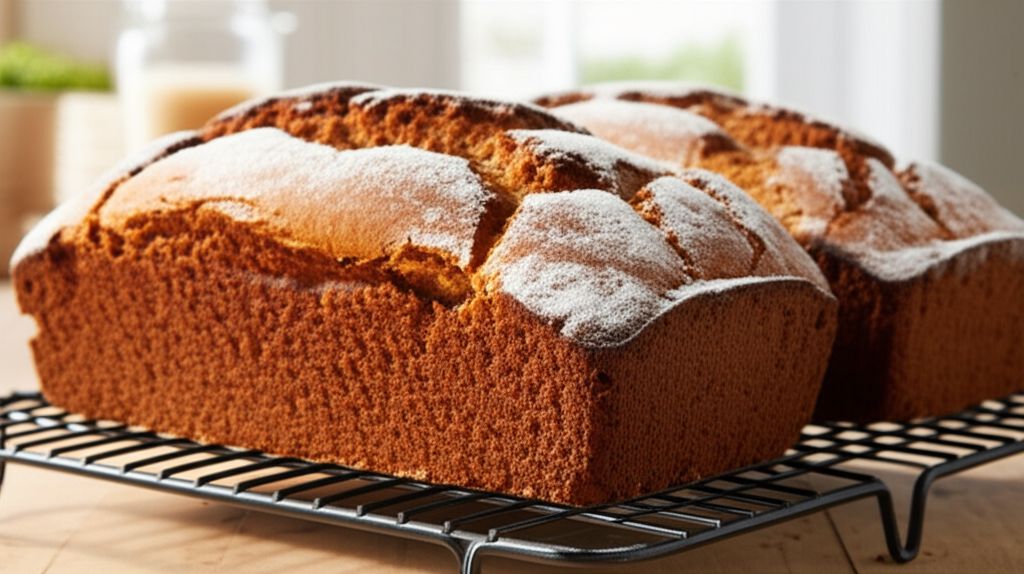
Recipe View 10 mins Divide the dough into 3 equal portions. Shape each portion into a loaf and place them in three greased 9x5x3 inch loaf pans. (10 minutes)
11 Step
Recipe View 2 mins Cover the pans and place them in a warm environment, such as a warm water bath or a warm oven with a bowl of hot water, maintaining a temperature of around 85 degrees F (30 degrees C). (2 minutes)
12 Step
Recipe View 5 hrs Allow the loaves to rise for approximately 5 hours, or until they have doubled in size and are rounded to the top of the pans. (5 hours)

13 Step
Recipe View 15 mins Preheat the oven to 375 degrees F (190 degrees C). (15 minutes)
14 Step
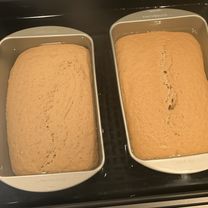
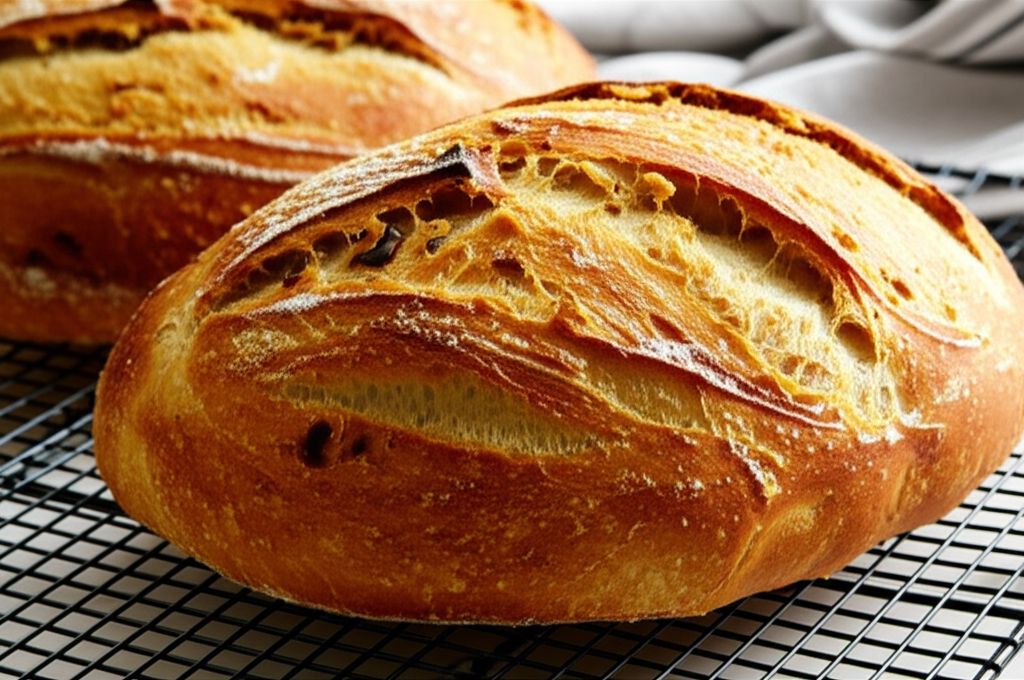
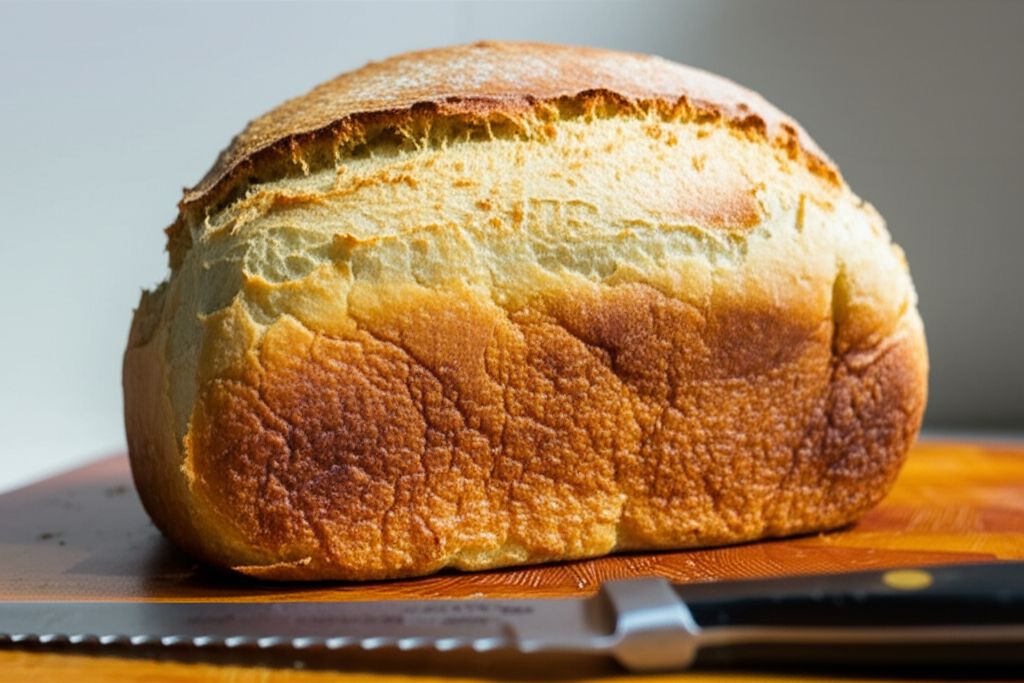
Recipe View 30 mins Bake the bread at 375 degrees F (190 degrees C) for 10 minutes. Then, reduce the oven temperature to 350 degrees F (175 degrees C) and continue baking for an additional 20 minutes, or until the loaves are light golden brown and sound hollow when tapped on the bottom. (30 minutes)
15 Step
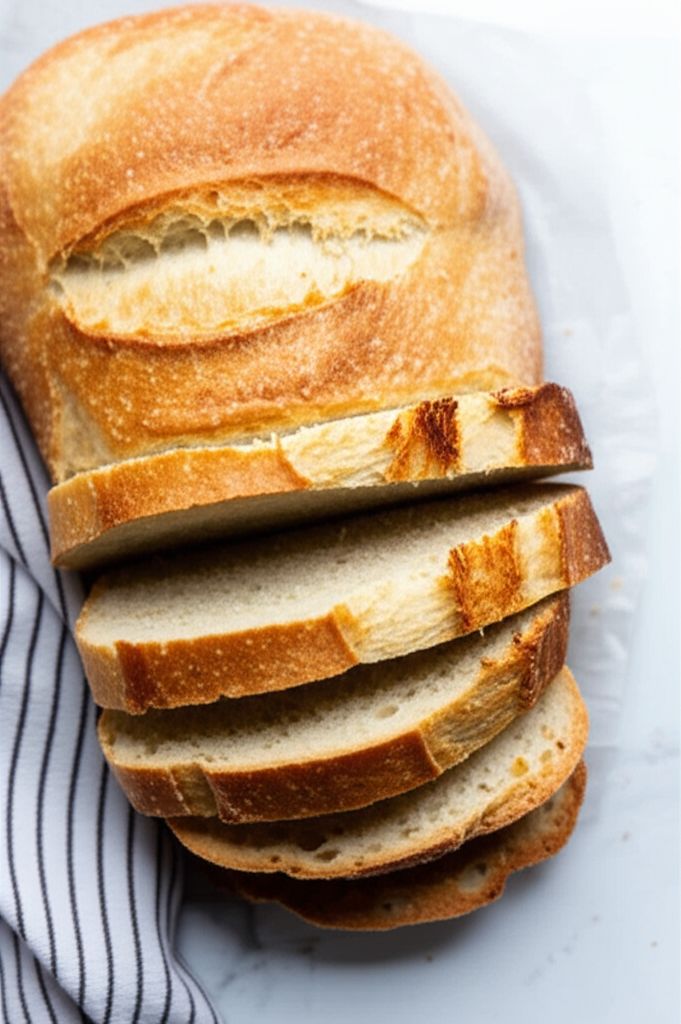
Recipe View Remove the bread from the pans and let it cool completely on a wire rack before slicing and serving.
You need to login to claim your token
🔐 Login to get tokenYOU MAY ALSO LIKE


RECIPE REVIEWS
LEAVE A REVIEW
Please Rate
Erik Yundt
May 23, 2025The tip about using stone-ground cornmeal made a huge difference. My first batch was a failure, but the second one was perfect using the right cornmeal.
Lenore Kiehn
Jan 24, 2025I was intimidated by the long rising times, but it was worth it. The bread had a wonderful texture and a tangy flavor that I loved.
Stone Block
Oct 23, 2024This recipe was a game-changer! It took me a few tries, but the final result was incredible. The flavor is so unique and unlike any bread I've ever tasted.
Arno Predovicshanahan
Jul 31, 2024I made this for my family, and they couldn't get enough of it. It's definitely a special occasion bread, but it's worth the effort for the amazing flavor.