For a richer flavor, use brown butter instead of regular butter. If you don't have self-rising flour, you can make your own by combining 2 cups of all-purpose flour with 3 teaspoons of baking powder and 1/2 teaspoon of salt. To ensure even baking, rotate the baking sheet halfway through the baking time. These scones are best served warm on the day they are made. However, they can be stored in an airtight container at room temperature for up to 2 days.
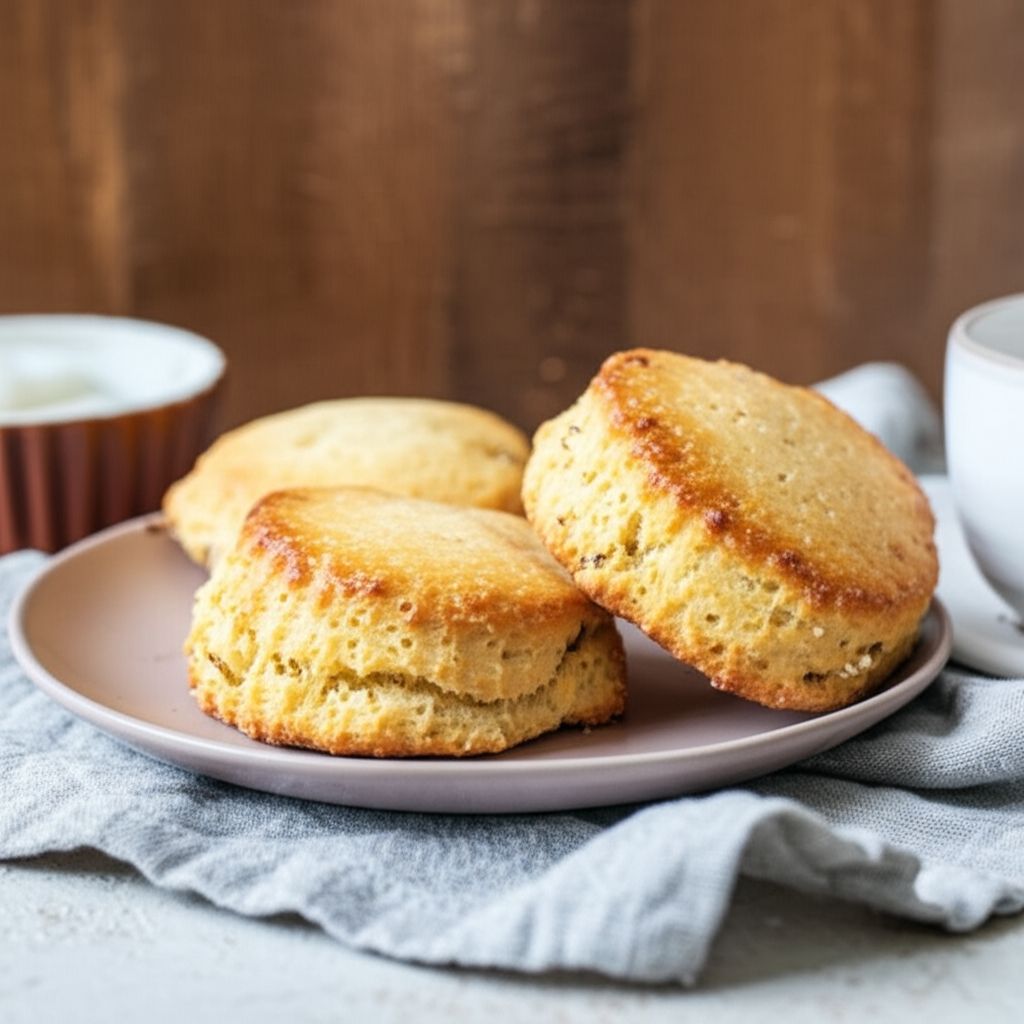
Australian-Style Pumpkin Scones
-
PREP TIME15 mins
-
COOK TIME15 mins
-
TOTAL TIME30 mins
-
SERVING12 People
-
VIEWS31
Experience the delightful taste of Australian-style pumpkin scones, a perfect blend of sweet and savory flavors in a light, fluffy texture. These scones are a comforting treat, ideal for breakfast, brunch, or an afternoon snack.
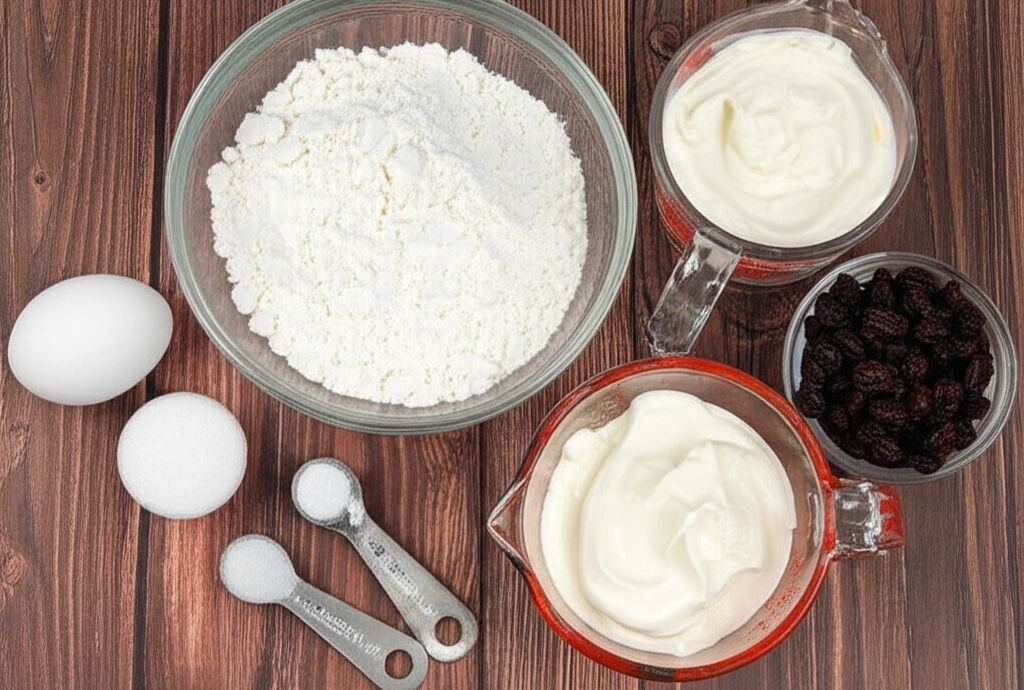
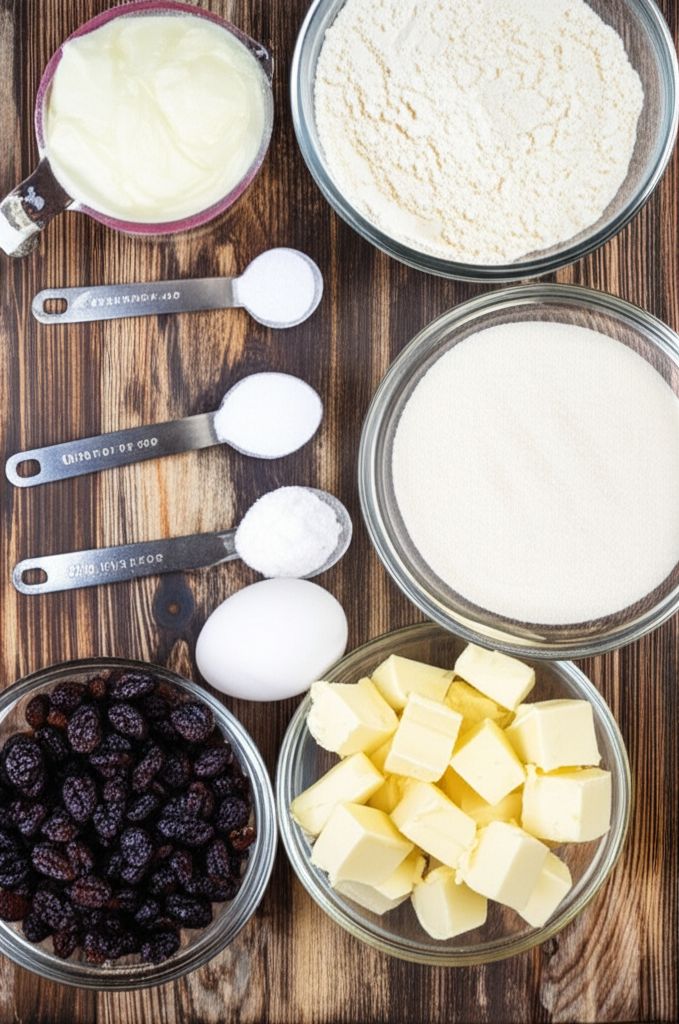
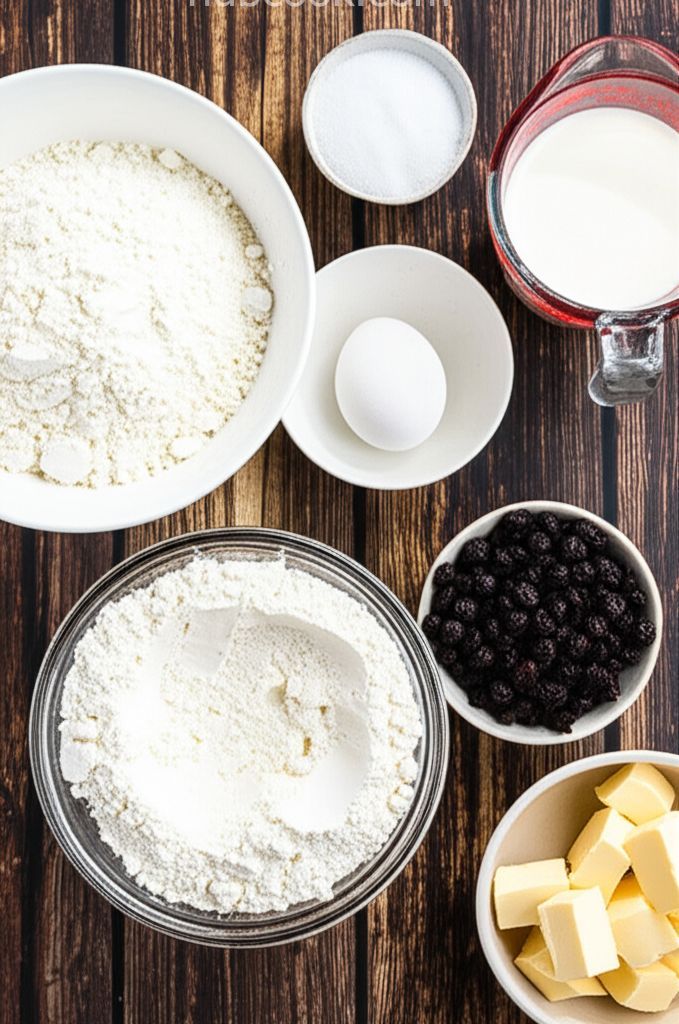
Ingridients
Adjust Servings
Nutrition
-
Carbohydrate26 g
-
Cholesterol18 mg
-
Fiber1 g
-
Protein3 g
-
Saturated Fat1 g
-
Sodium416 mg
-
Sugar9 g
-
Fat2 g
-
Unsaturated Fat0 g
Follow The Directions
01
Step
5 mins
Preheat your oven to 450°F (230°C). Line a baking sheet with parchment paper. (5 minutes)
02
Step
5 mins
In a large bowl, rub the softened butter into the self-rising flour using your fingertips until the mixture resembles coarse breadcrumbs. (5 minutes)
03
Step
2 mins
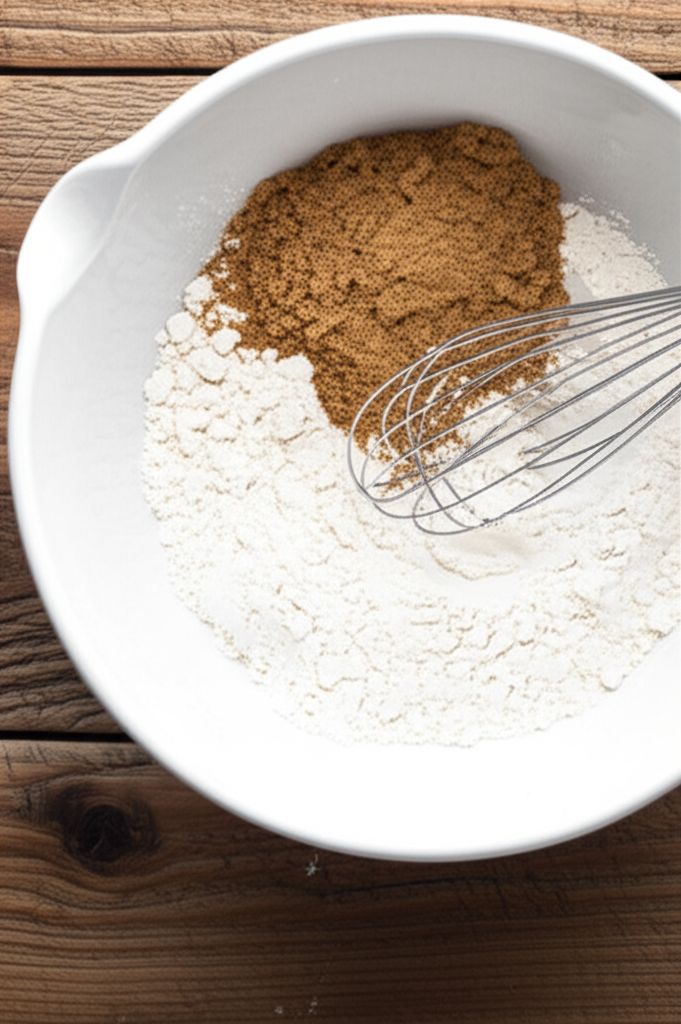
Add the granulated sugar, baking powder, and salt to the flour mixture. Create a well in the center of the dry ingredients. (2 minutes)
04
Step
2 mins
In a separate bowl, combine the mashed pumpkin and lightly beaten egg. (2 minutes)
05
Step
3 mins
Pour the wet ingredients into the well in the dry ingredients. Mix gently until just combined. Be careful not to overmix; the dough should be slightly sticky. (3 minutes)
06
Step
5 mins
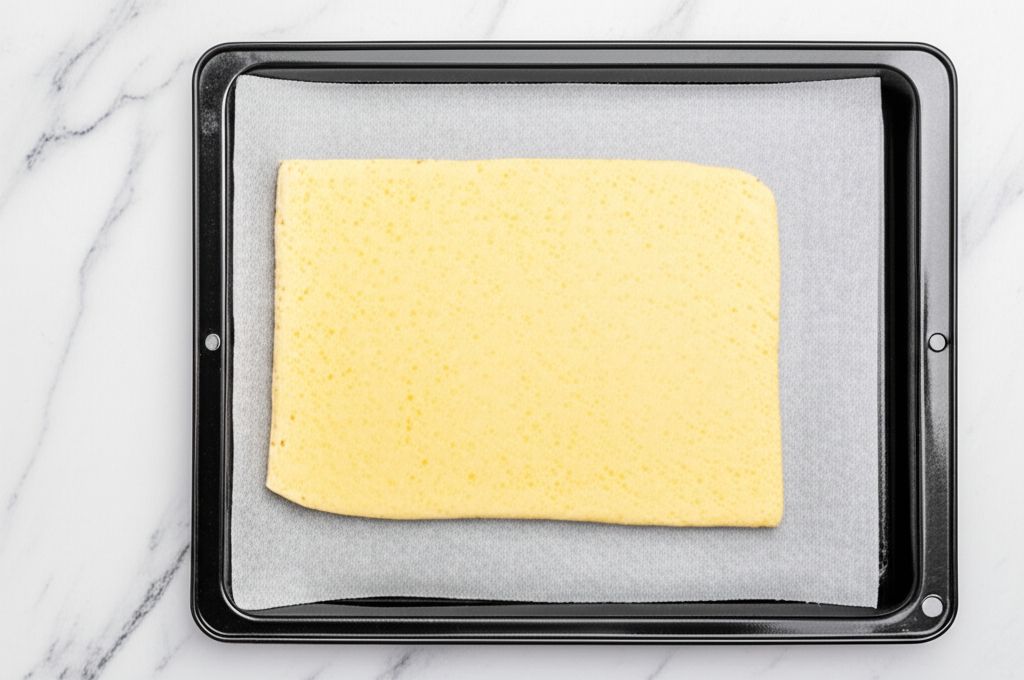
Turn the dough out onto a lightly floured surface. Gently pat it down to a thickness of about 1 inch. Use a floured knife or a cookie cutter to cut the dough into squares or rounds. (5 minutes)
07
Step
2 mins
Arrange the scones on the prepared baking sheet, leaving a little space between each one. (2 minutes)
08
Step
20 mins
Bake in the preheated oven for 15-20 minutes, or until the scones are lightly golden brown and cooked through. (20 minutes)
09
StepLet the scones cool slightly on the baking sheet before serving. Serve warm with butter, jam, or clotted cream.
YOU MAY ALSO LIKE

RECIPE REVIEWS
LEAVE A REVIEW
Please Rate
Bethany Lemke
Jun 24, 2025The texture was spot on – light and crumbly. I'll definitely be making these again.
Claud Wisoky
May 26, 2025I added a bit of cinnamon and nutmeg, and they were perfect for a fall brunch!
Lillie Wilkinson
May 25, 2025These scones were so easy to make and tasted amazing! My family loved them.
Gerard Abbott
Apr 20, 2025My kids devoured these! They are a new family favorite.
Mario Mitchell
Mar 10, 2025The cooking time was perfect. They came out golden brown and cooked through.
Bill Miller
Mar 5, 2025These are so much better than store-bought scones. So fresh and delicious!
Daryl Haley
Feb 21, 2025I didn't have self-rising flour, so I used the substitute recipe mentioned in the notes. Worked perfectly!