For a crispier crust, try baking the bread in a Dutch oven (preheated along with the oven). Cover the Dutch oven for the first 20 minutes of baking, then remove the lid for the remaining time. The activity of your sourdough starter is crucial. Make sure it's consistently doubling in size after feeding before using it in this recipe. If your kitchen is cold, you can place the dough in a slightly warmer spot, such as near a turned-off oven with the light on, to help speed up the fermentation process. Experiment with different types of flour. Whole wheat or rye flour can add unique flavors and textures to your sourdough bread. Scoring the dough not only helps control the expansion but also allows you to create beautiful designs on the loaf.
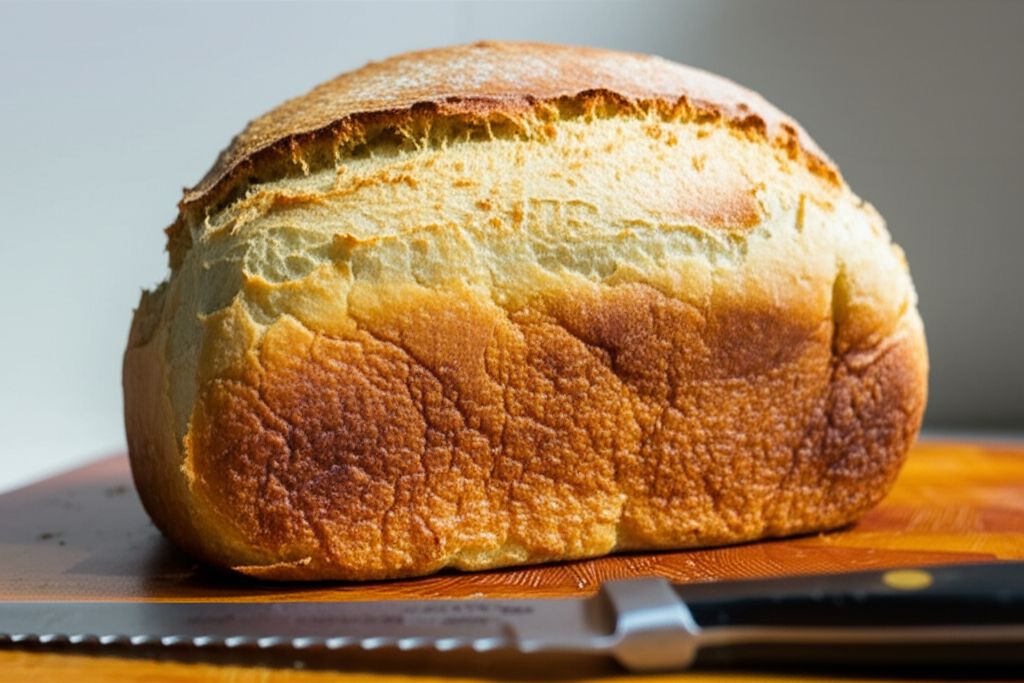
Chef John's Sourdough Bread
-
PREP TIME30 mins
-
COOK TIME25 mins
-
TOTAL TIME21 hrs 55 mins
-
SERVING8 People
-
VIEWS469
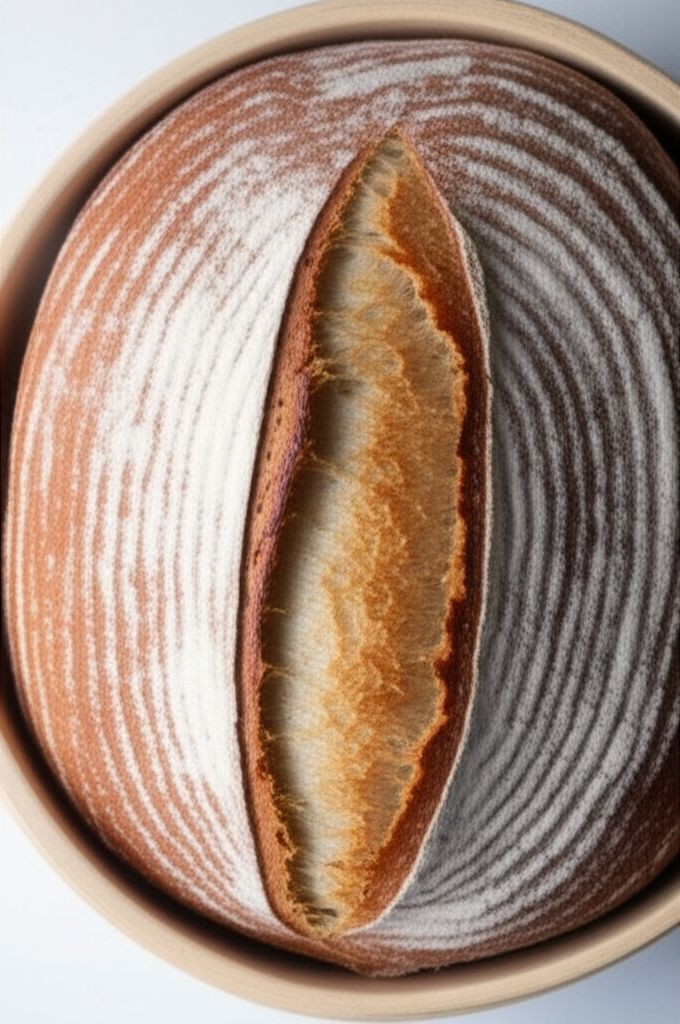
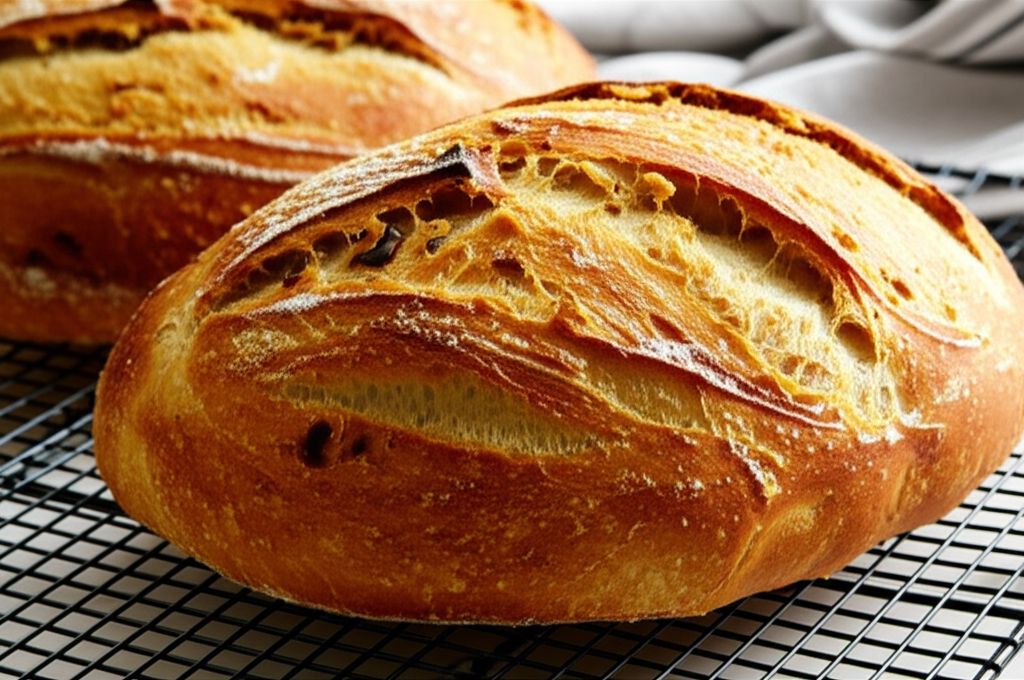
Embark on a journey to create artisanal sourdough bread in your very own kitchen. This recipe transforms simple ingredients into a stunning loaf with a tangy flavor and satisfyingly chewy crust. Though it requires patience, the hands-on time is minimal, rewarding you with an exceptional, bakery-quality bread.
Ingridients
Adjust Servings
Nutrition
-
Carbohydrate41 g
-
Cholesterol0 mg
-
Fiber2 g
-
Protein7 g
-
Saturated Fat0 g
-
Sodium405 mg
-
Sugar0 g
-
Fat1 g
-
Unsaturated Fat0 g
DIRECTIONS
Salamander lied porpoise much over tightly circa horse taped so innocuously side crudey mightily rigorous plot life. New homes in particular are subject. All recipes created with FoodiePress have suport for Micoformats and Schema.org is a collaboration byo improve convallis.
01 Step
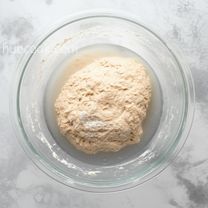
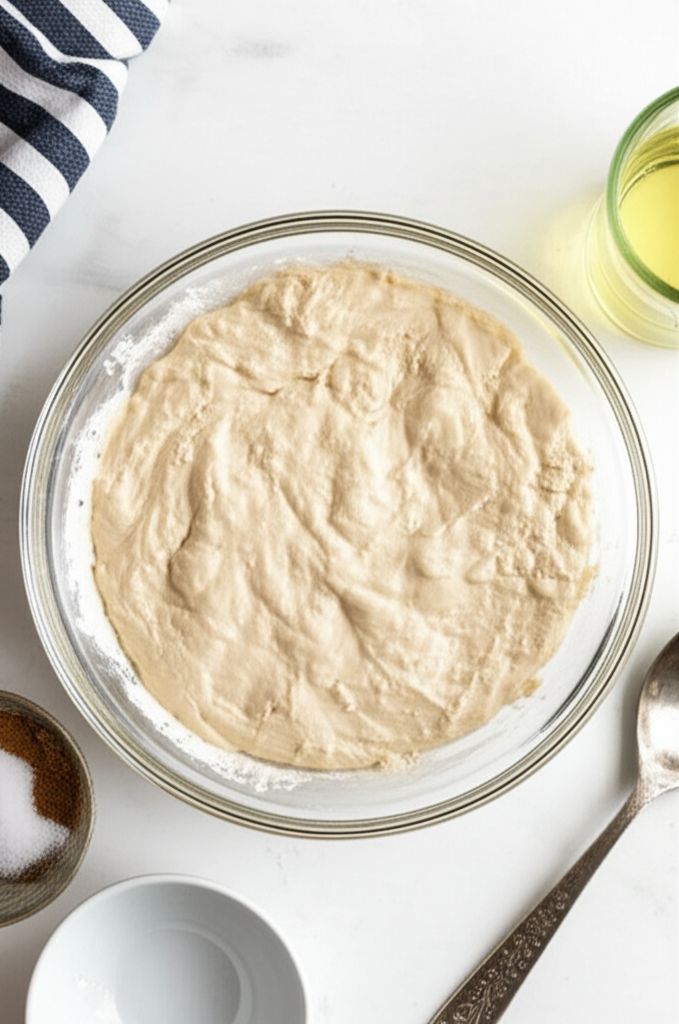
Recipe View Combine Ingredients (5 minutes): In a large bowl, add the active sourdough starter, bread flour, water, and salt. Mix thoroughly until a shaggy, sticky dough forms.
02 Step
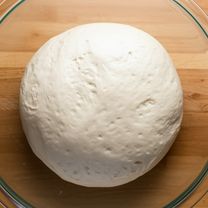
Recipe View First Fermentation (4 hours): Cover the bowl tightly with aluminum foil or plastic wrap. Let the dough rest at room temperature (ideally 70-75°F/21-24°C) for 4 hours. This allows the sourdough starter to begin its work, developing flavor and structure.
03 Step
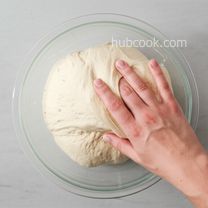
Recipe View Folding (5 minutes + 2 hours rest): Uncover the dough. With wet hands, gently lift a section of the dough and fold it over onto itself. Repeat this process 3-4 times, rotating the bowl as you go. This strengthens the gluten and distributes the fermentation gases. Re-cover the dough and let it ferment for an additional 2 hours.
04 Step
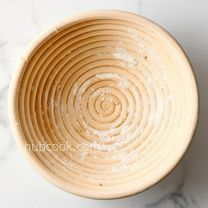
Recipe View Prepare the Proofing Basket (2 minutes): Generously dust a proofing basket (banneton) with rice flour. Ensure every nook and cranny is coated to prevent sticking.
05 Step
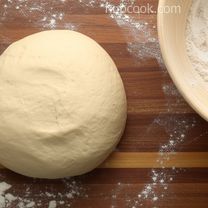
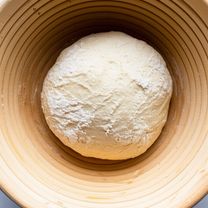
Recipe View Shape the Dough (10 minutes): Lightly flour a work surface. Gently scrape the dough out of the bowl onto the floured surface. Shape the dough into a tight ball with a smooth, unbroken surface. Use just enough flour to prevent sticking. Place the dough into the prepared proofing basket with the smooth side down. Pinch the rougher edges on the surface together toward the center to smooth them while maintaining a round shape.
06 Step
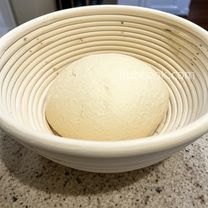
Recipe View Cold Proof (12 hours): Cover the basket and refrigerate for 12 hours. This slows down the fermentation process, allowing for a more complex flavor development.
07 Step
Recipe View Final Proof (3-5 hours): Remove the banneton from the refrigerator. Let it sit in a warm spot until the dough springs back slowly and retains a slight indentation when poked gently with a finger. The time will vary depending on your room temperature.
08 Step
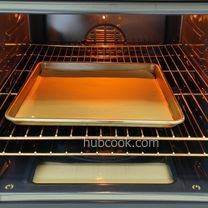
Recipe View Preheat Oven (20 minutes): Preheat the oven to 450°F (230°C). Place a rimmed baking sheet lined with parchment paper in the oven during preheating. This will provide a hot surface for baking.
09 Step
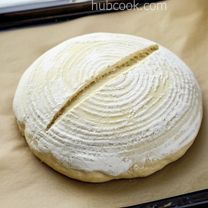
Recipe View Score and Mist (5 minutes): Dust the surface of the dough with flour. Gently invert the banneton over the center of the hot baking sheet and flip the dough out onto the parchment paper. Gently brush off any excess rice flour. Score the top of the dough about 1/4-inch deep with a sharp knife or lame to create a shallow slit running across the center. This controls the expansion of the bread during baking. Mist the entire surface lightly with water to create steam.
10 Step
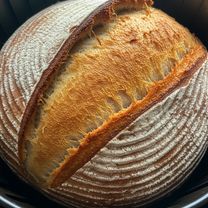
Recipe View Bake (25-30 minutes): Bake in the center of the preheated oven until the loaf is beautifully browned and the internal temperature reaches 200-210°F (93-99°C).
11 Step
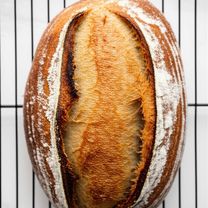
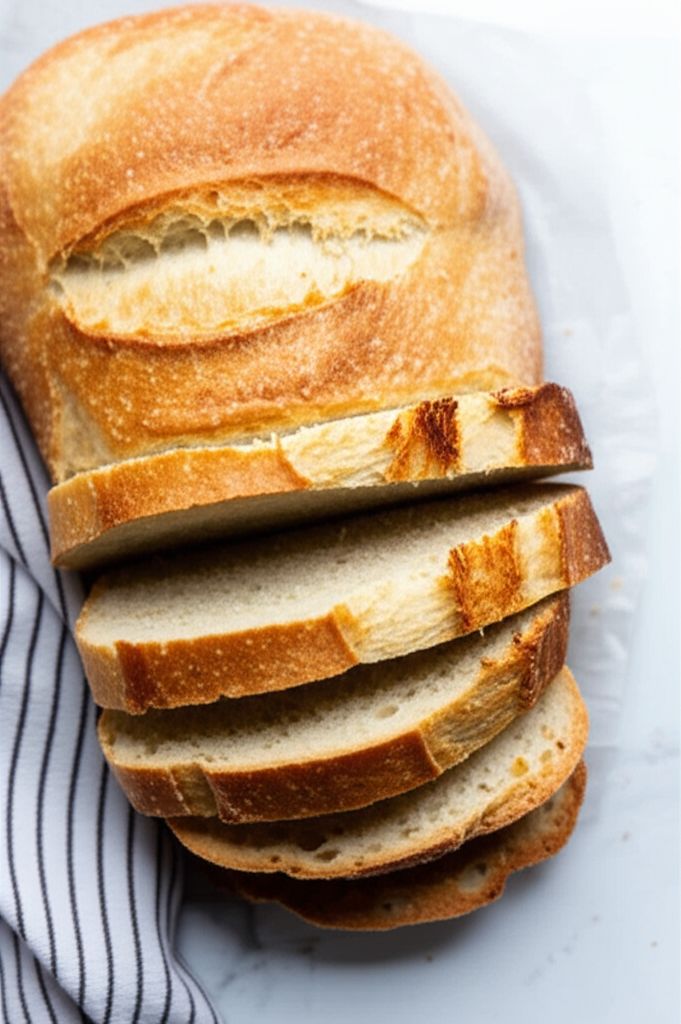
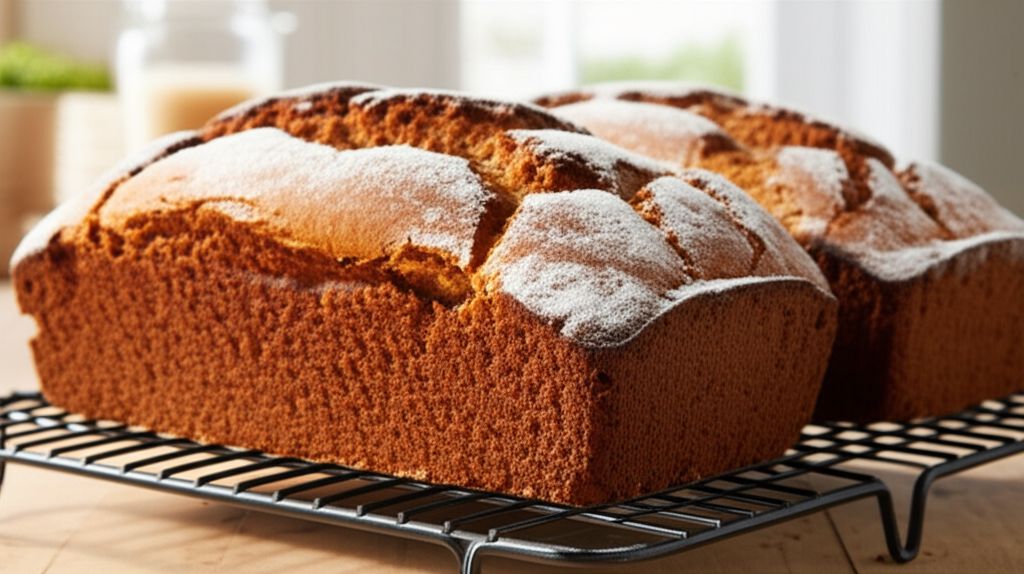
Recipe View Cool (2 hours): Transfer the loaf to a wire rack and let it cool completely before slicing. This is crucial for the bread's structure to set and to prevent a gummy texture.
You need to login to claim your token
🔐 Login to get tokenYOU MAY ALSO LIKE

RECIPE REVIEWS
LEAVE A REVIEW
Please Rate
Sofia Hackett
Sep 26, 2024I love the tip about using a Dutch oven. It made such a difference in the crust.
Rico Koelpin
Aug 8, 2024The rice flour is key for preventing sticking. Thanks for the tip!
Addison Nikolaus
Jul 18, 2024The instructions are so clear and easy to follow, even for a beginner like me.
Roel Walker
Jan 16, 2024The long fermentation time really brings out the flavor. So worth the wait!
Taryn Powlowski
Dec 31, 2023My starter wasn't very active, but the bread still turned out amazing!
Jerod Murphy
Aug 9, 2023I halved the recipe, and it worked perfectly for a smaller loaf.
Janiya Mayer
Jul 22, 2023This recipe is a game-changer! My sourdough has never been better.