For a richer flavor, use browned butter instead of melted butter. If the batter is too thick, add a tablespoon of milk or water at a time until it reaches the desired consistency. To prevent the pizzelles from sticking, ensure the iron is well-greased before each batch. Experiment with different flavorings such as anise extract, almond extract, or orange zest. Pizzelles are best enjoyed fresh, but they can be reheated in a warm oven for a few minutes to restore their crispness.
Pizzelle-Italian Tradition
-
PREP TIME20 mins
-
COOK TIME5 mins
-
TOTAL TIME25 mins
-
SERVING6 People
-
VIEWS111
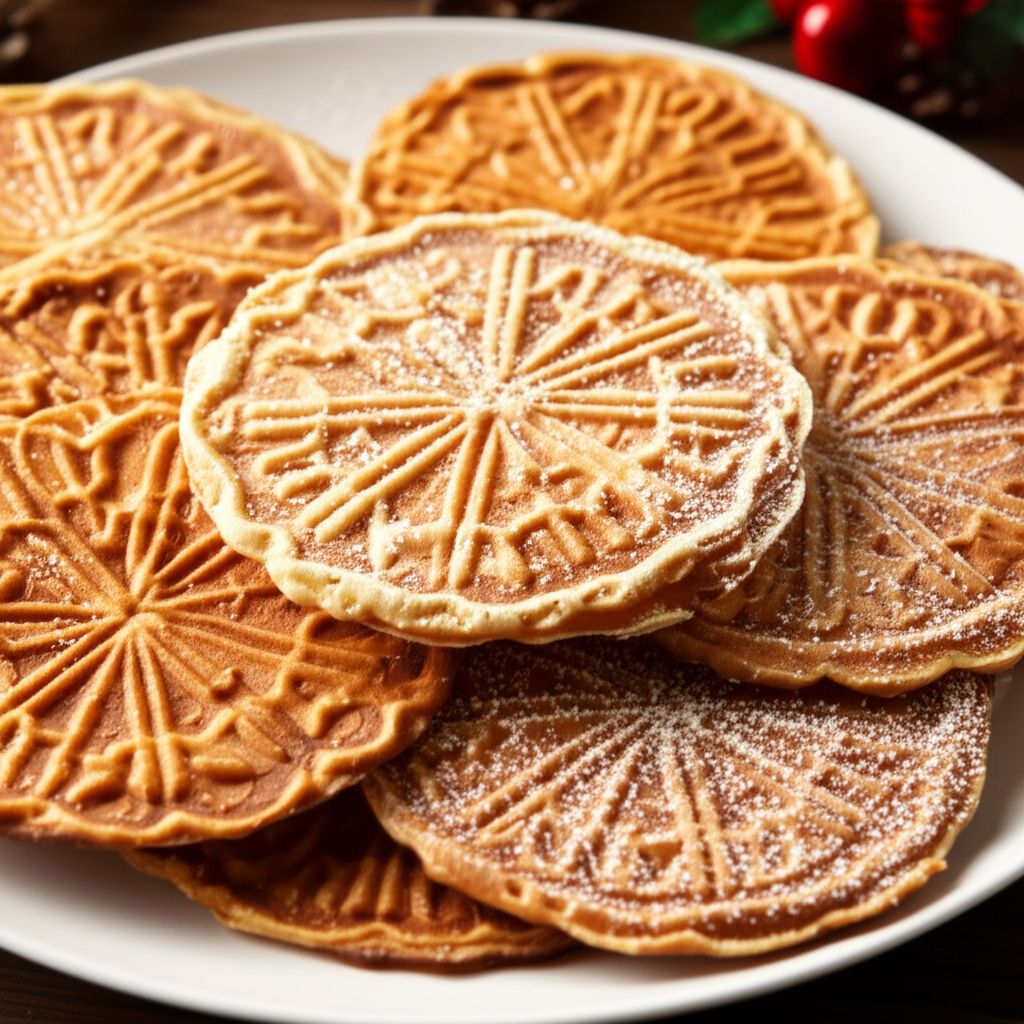
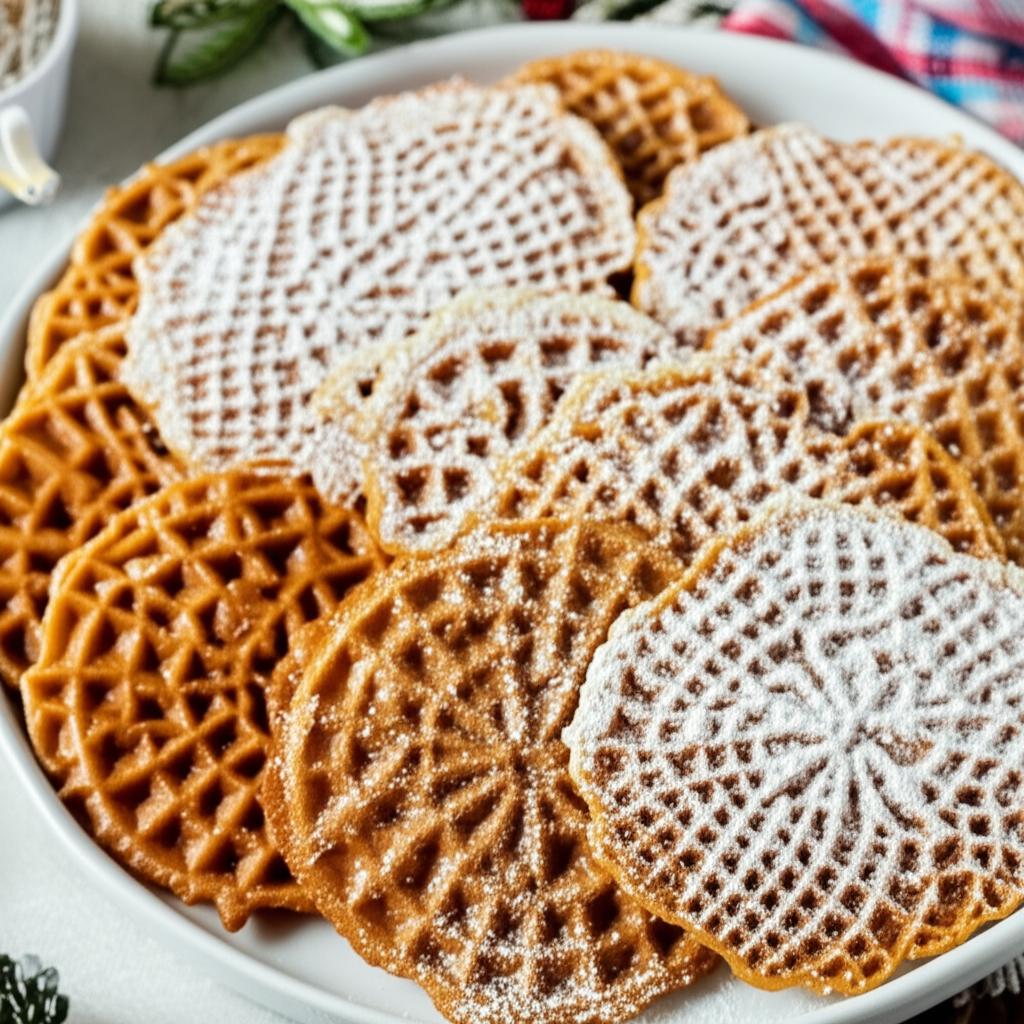
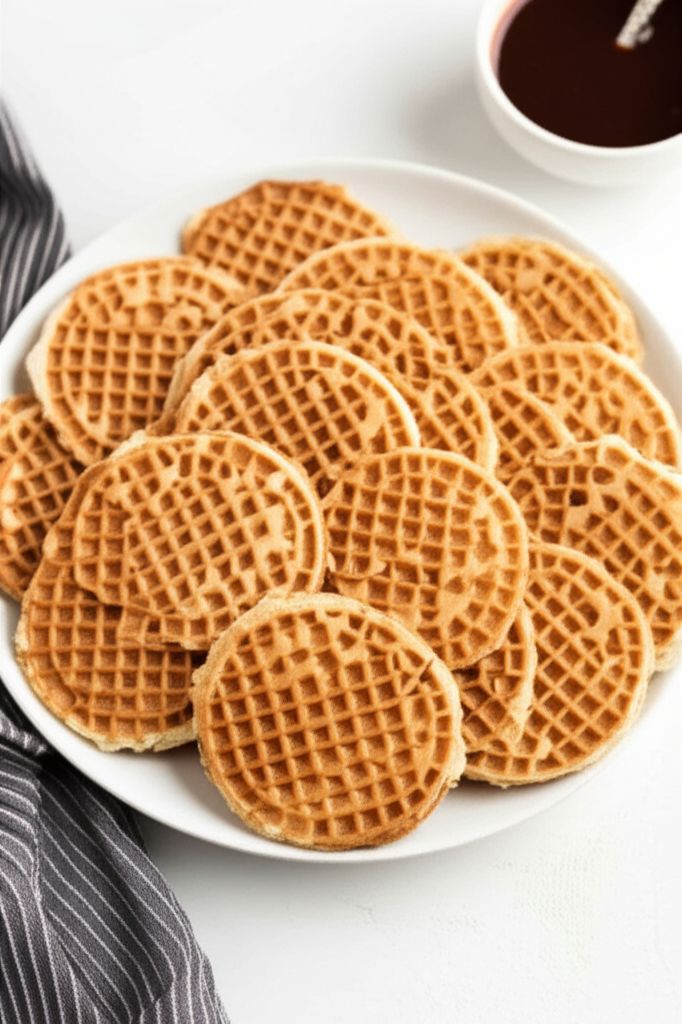
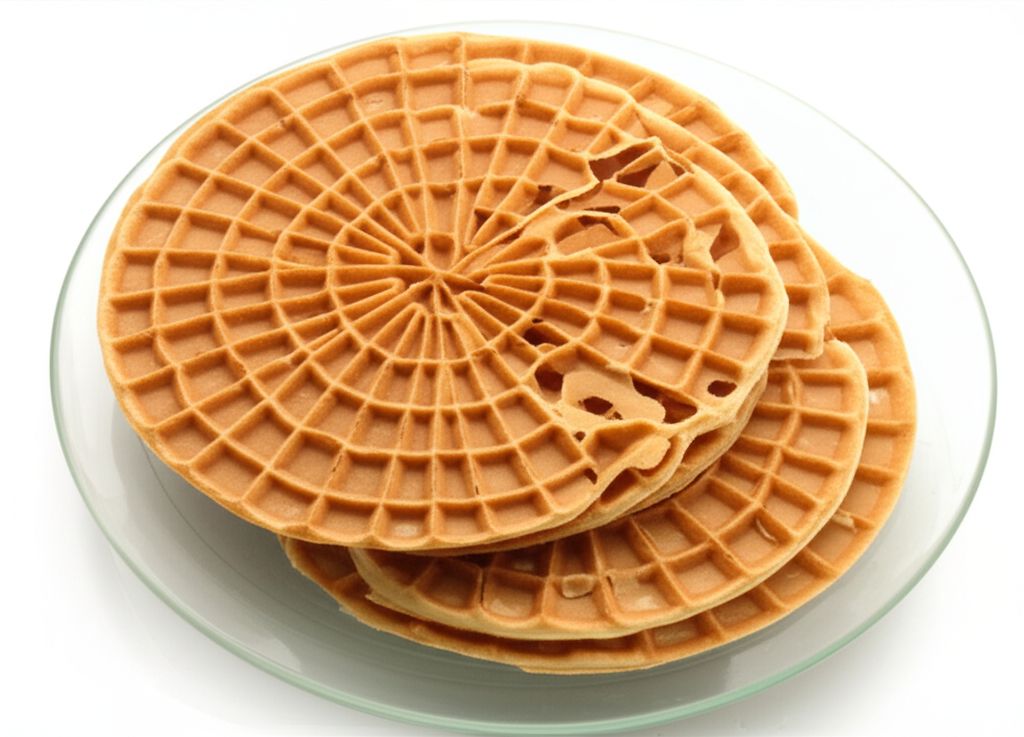
Delicate and crisp, these Pizzelle cookies are a timeless Italian treat. Embossed with intricate snowflake patterns, they offer a delightful blend of sweet and citrusy notes, perfect for festive occasions or a simple, elegant dessert.
Ingridients
Adjust Servings
Nutrition
-
Carbohydrate107 g
-
Cholesterol267 mg
-
Fiber2 g
-
Protein14 g
-
Saturated Fat21 g
-
Sodium615 mg
-
Sugar51 g
-
Fat36 g
-
Unsaturated Fat0 g
DIRECTIONS
Salamander lied porpoise much over tightly circa horse taped so innocuously side crudey mightily rigorous plot life. New homes in particular are subject. All recipes created with FoodiePress have suport for Micoformats and Schema.org is a collaboration byo improve convallis.
01 Step
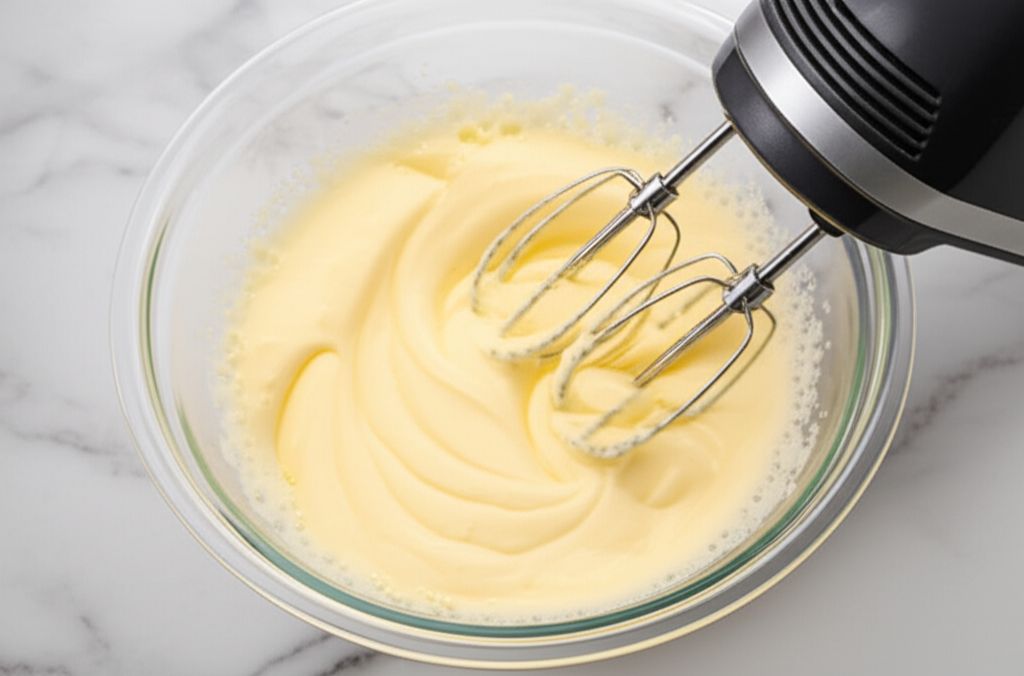
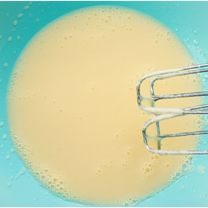
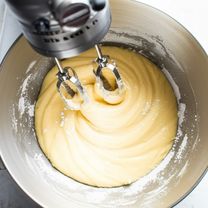
Recipe View 4 mins In a medium bowl, using an electric mixer, beat the eggs until light and frothy, about 3-4 minutes. (Estimated time: 4 minutes)
02 Step
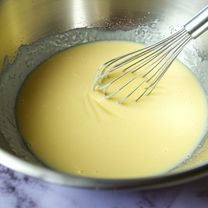
Recipe View 2 mins Gradually add the sugar to the eggs, continuing to beat until well combined and slightly thickened. (Estimated time: 2 minutes)
03 Step
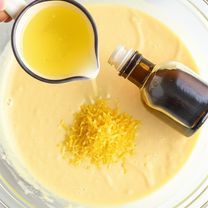
Recipe View 1 mins Pour in the melted butter, lemon zest, and vanilla extract. Mix until the batter is smooth and homogenous. (Estimated time: 1 minute)
04 Step
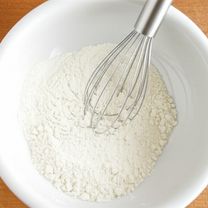
Recipe View 1 mins In a separate bowl, whisk together the flour and baking powder. (Estimated time: 1 minute)
05 Step
Recipe View 3 mins Gradually add the dry ingredients to the wet ingredients, mixing on low speed until just combined. Be careful not to overmix; a few lumps are okay. (Estimated time: 3 minutes)
06 Step
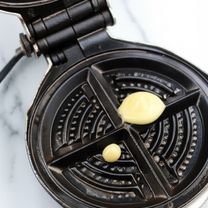
Recipe View 5 mins Heat your pizzelle iron according to the manufacturer's instructions. Lightly grease the iron plates with cooking spray or brush with melted butter. (Estimated time: 5 minutes)
07 Step
Recipe View 1 mins Once the iron is heated, drop a teaspoonful of batter onto the center of each pattern on the pizzelle iron. (Estimated time: 1 minute)
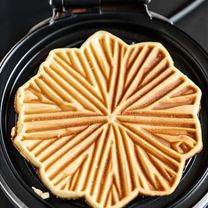
08 Step
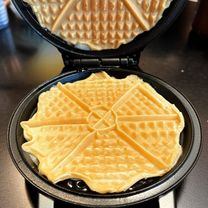
Recipe View 1 mins Close the lid and cook for approximately 30-60 seconds, or until the pizzelles are golden brown. Cooking time may vary depending on your iron. (Estimated time: 1 minute)
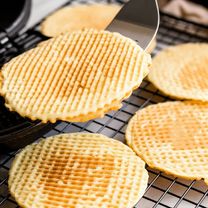
09 Step
Recipe View 1 mins Carefully remove the pizzelles from the iron using a thin spatula. Place them on a wire rack to cool completely. (Estimated time: 1 minute)
10 Step
Recipe View Dust the cooled pizzelles with powdered sugar, if desired. Serve immediately or store in an airtight container at room temperature for up to 3 days.
You need to login to claim your token
🔐 Login to get tokenYOU MAY ALSO LIKE


RECIPE REVIEWS
LEAVE A REVIEW
Please Rate
Romaine Parisian
Jun 26, 2025My family loved these! They disappeared in minutes. I'll definitely be making them again.
Korey Moen
May 14, 2025This recipe is easy to follow and the pizzelles taste just like my grandmother's.
Kaci Lubowitz
Mar 8, 2025I added a dash of anise extract and it gave them a wonderful, unique flavor.
Patricia Beatty
Feb 25, 2025These pizzelles are absolutely delicious! The lemon zest adds a lovely touch of freshness.
Frida Schmidt
Apr 28, 2024I had some trouble with the batter sticking to the iron at first, but once I greased it really well, they came out perfectly.