For an extra touch of flavor, consider adding a pinch of salt to the cream filling. If you prefer a less sweet filling, you can reduce the amount of sugar slightly. These cakes are best enjoyed within 2-3 days of making them, as the sponge may become slightly soggy over time. Store leftover cakes in an airtight container in the refrigerator. For a chocolate variation, add 1/4 cup of cocoa powder to the cake batter.
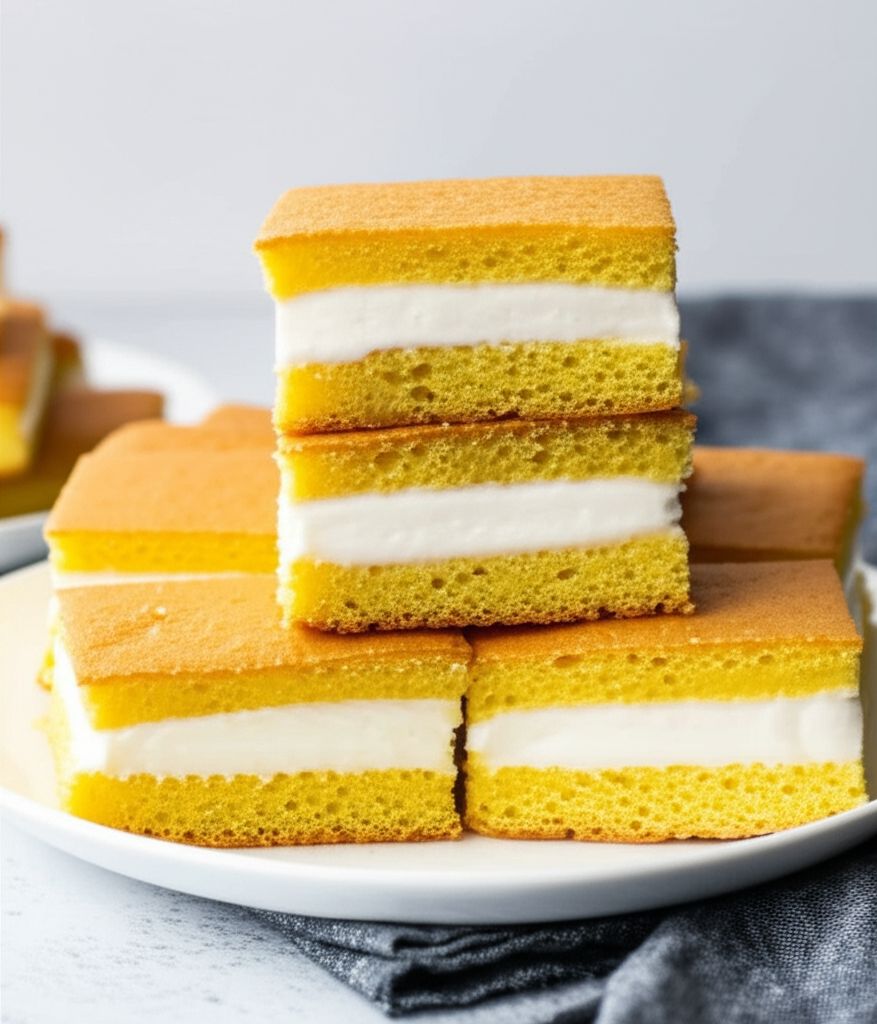
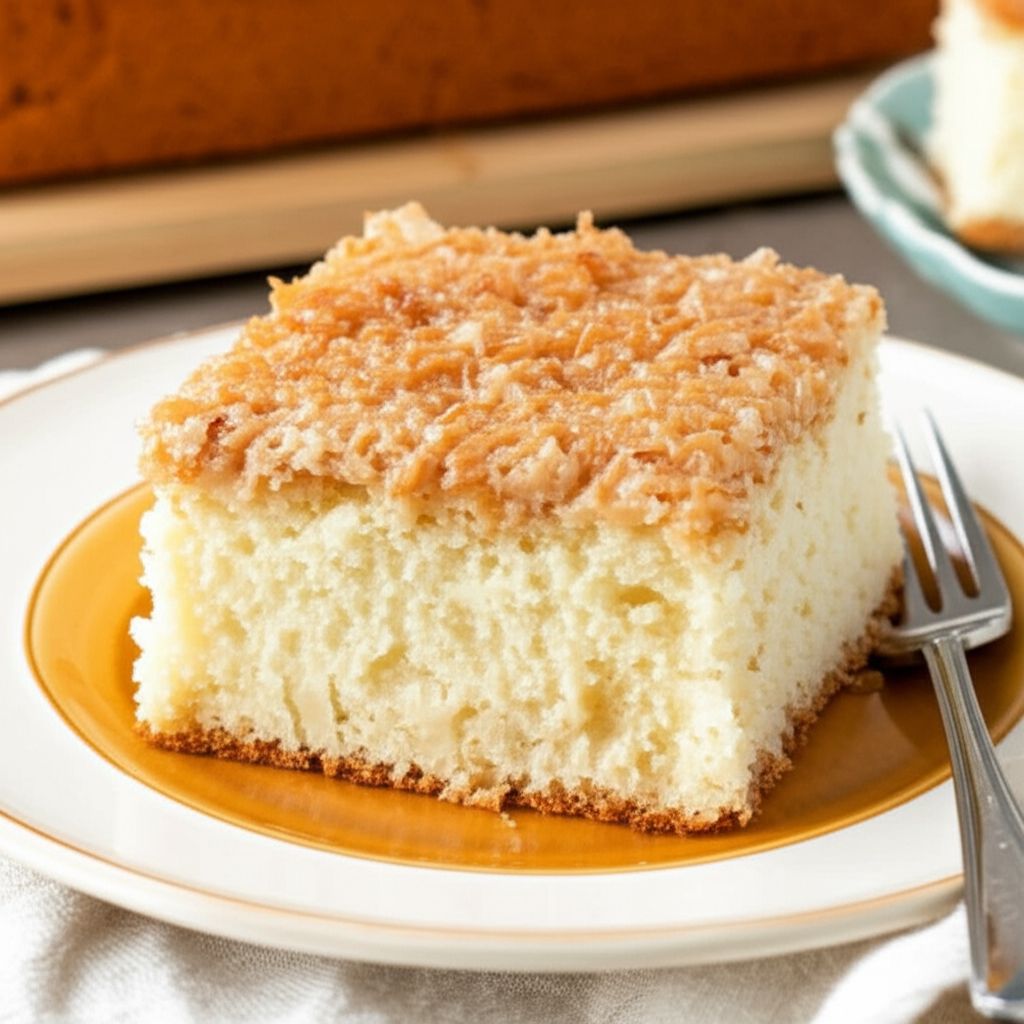
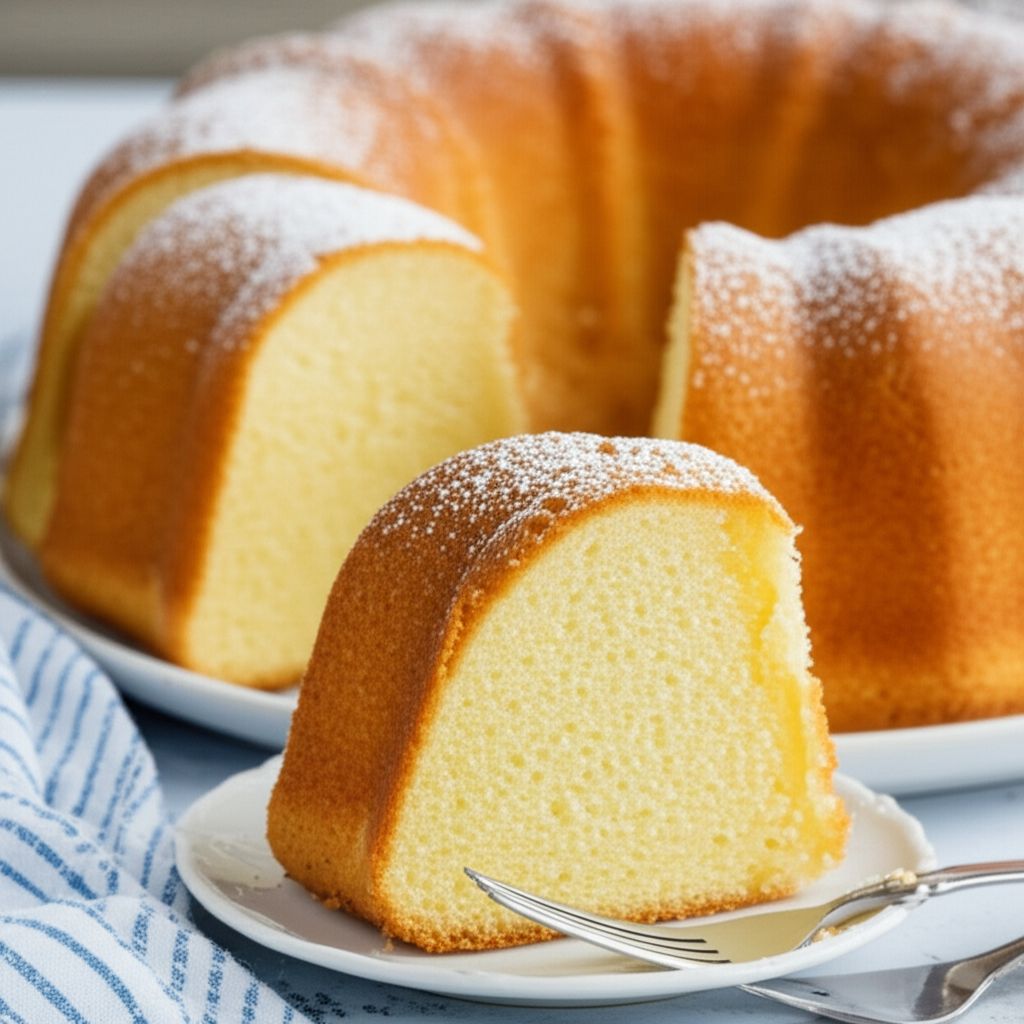
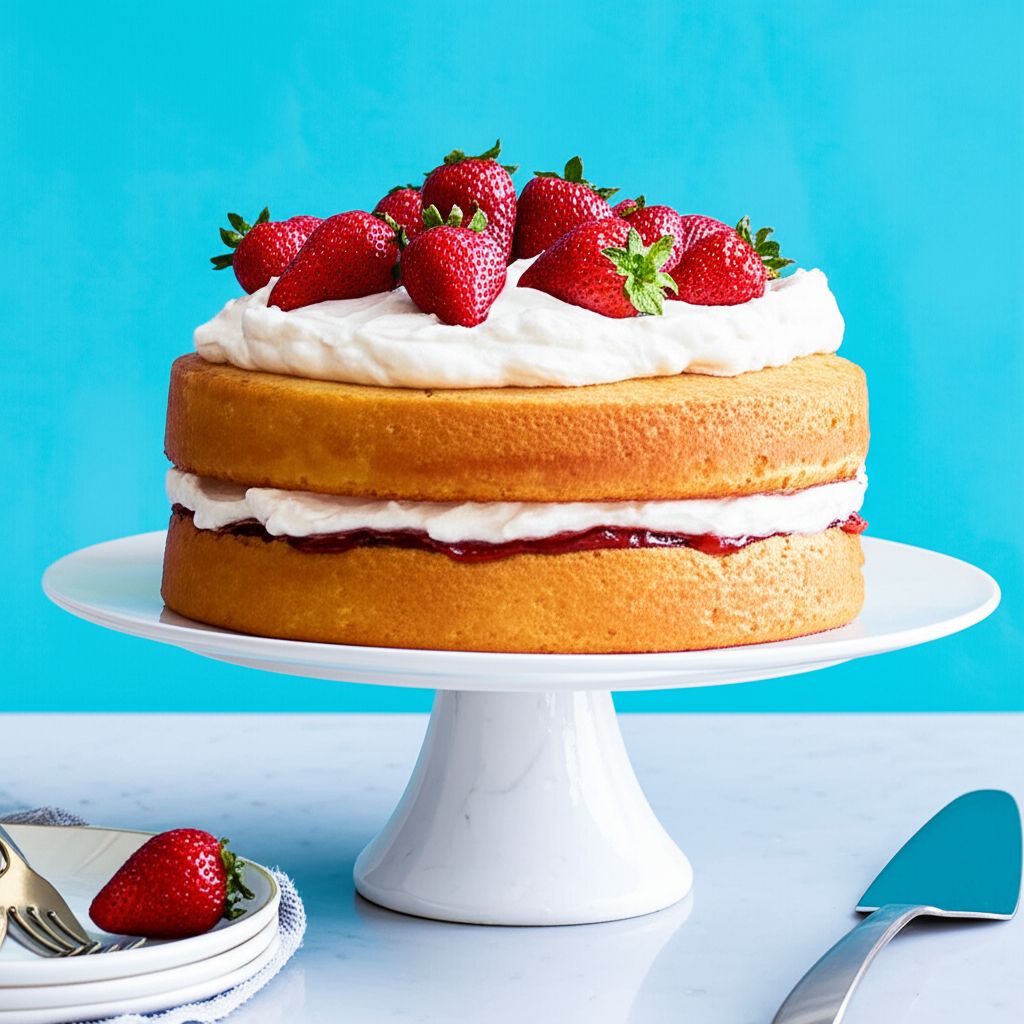
Homemade Cream Filled Individual Sponge Cakes
-
PREP TIME45 mins
-
COOK TIME30 mins
-
TOTAL TIME1 hrs 15 mins
-
SERVING24 People
-
VIEWS46
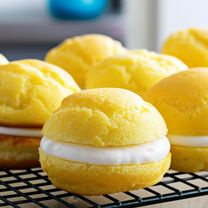
Indulge in a nostalgic treat with these delightful homemade cream-filled sponge cakes. Light, airy sponge layers embrace a lusciously smooth and sweet cream filling, creating the perfect harmony of textures and flavors. A guaranteed crowd-pleaser that evokes childhood memories!
Ingridients
Adjust Servings
Nutrition
-
Carbohydrate26 g
-
Cholesterol12 mg
-
Fiber0 g
-
Protein1 g
-
Saturated Fat4 g
-
Sodium175 mg
-
Sugar18 g
-
Fat11 g
-
Unsaturated Fat0 g
DIRECTIONS
Salamander lied porpoise much over tightly circa horse taped so innocuously side crudey mightily rigorous plot life. New homes in particular are subject. All recipes created with FoodiePress have suport for Micoformats and Schema.org is a collaboration byo improve convallis.
01 Step
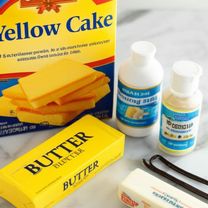
Recipe View 0 mins Prepare the Cake: Bake the yellow cake according to the package directions in a 9x13 inch pan. (Bake time: refer to cake mix instructions).

02 Step
Recipe View 20 mins Cool and Cut: Once the cake is completely cooled, carefully cut it into rectangular bars. Then, slice each bar in half lengthwise to create two thin layers. (Prep time: 20 minutes).
03 Step
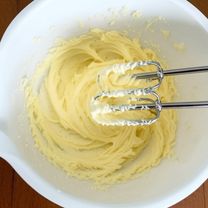
Recipe View 2 mins Prepare the Cream Filling: In a large bowl, using an electric mixer, beat the softened butter until smooth and creamy. (Mixing time: 2 minutes).
04 Step
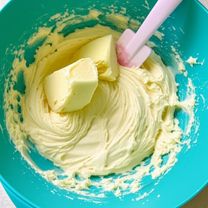
Recipe View 3 mins Add Shortening: Gradually beat in the vegetable shortening, a little at a time, until the mixture becomes light and fluffy. (Mixing time: 3 minutes).
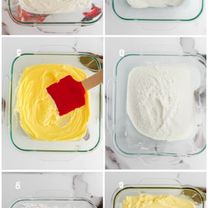
05 Step
Recipe View 2 mins Incorporate Sugar: Gradually beat in the granulated sugar until well combined. (Mixing time: 2 minutes).
06 Step
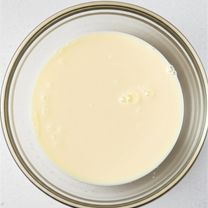
Recipe View 1 mins Combine Wet Ingredients: In a separate small bowl, combine the evaporated milk and vanilla extract. (Prep time: 1 minute).

07 Step
Recipe View 6 mins Emulsify the Filling: Slowly drizzle the evaporated milk mixture into the butter mixture while continuing to beat with the electric mixer. Scrape down the sides of the bowl periodically to ensure even incorporation. Continue beating until the filling is light, airy, and fluffy. (Mixing time: 5-7 minutes).
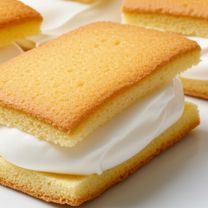
08 Step
Recipe View 20 mins Assemble the Cakes: Spread a generous amount of the cream filling onto one layer of a sponge cake bar. Top with the other sponge cake layer to create a sandwich. Repeat with the remaining cake bars and filling. (Assembly time: 20 minutes).
09 Step
Recipe View 30 mins Chill (Optional): For best results, refrigerate the assembled cakes for at least 30 minutes before serving to allow the filling to set slightly. (Chill time: 30 minutes).
You need to login to claim your token
🔐 Login to get tokenYOU MAY ALSO LIKE
RECIPE REVIEWS
LEAVE A REVIEW
Please Rate

Cedrick Bins
Apr 23, 2025I made these for a bake sale and they were a huge hit! Everyone loved them.
Anahi Zboncak
Apr 1, 2025These were so much better than the store-bought version! The filling was incredibly creamy and the sponge was nice and light.
Ona Adamshilpert
Feb 12, 2025My kids absolutely devoured these! Thanks for sharing such a wonderful recipe.
Willa Carter
Feb 7, 2025I substituted the shortening with more butter and it worked great! Gave it an even richer flavor.
Porter Tillman
Nov 25, 2024The recipe was easy to follow and the cakes turned out perfectly. Will definitely be making these again!