For best results, ensure all ingredients are fresh and of high quality. Vary the order of the layers to create unique sand art patterns. Use different types of chocolate chips or nuts for added flavor and texture. Store the jarred mix in a cool, dry place for up to 3 months. Make sure the jar is completely dry before adding ingredients to prevent clumping. Consider sifting the flour and cocoa powder before layering to prevent lumps.
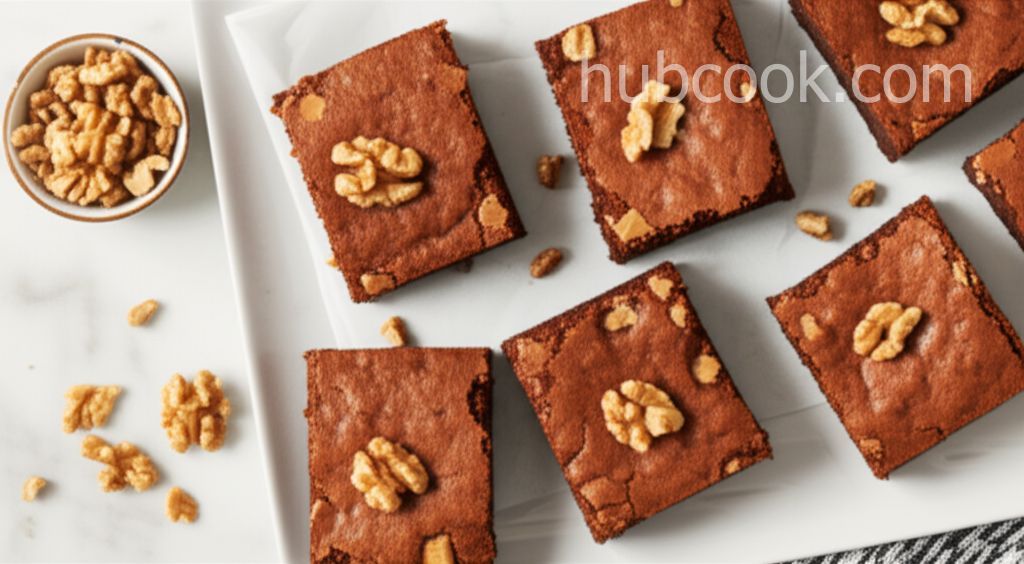
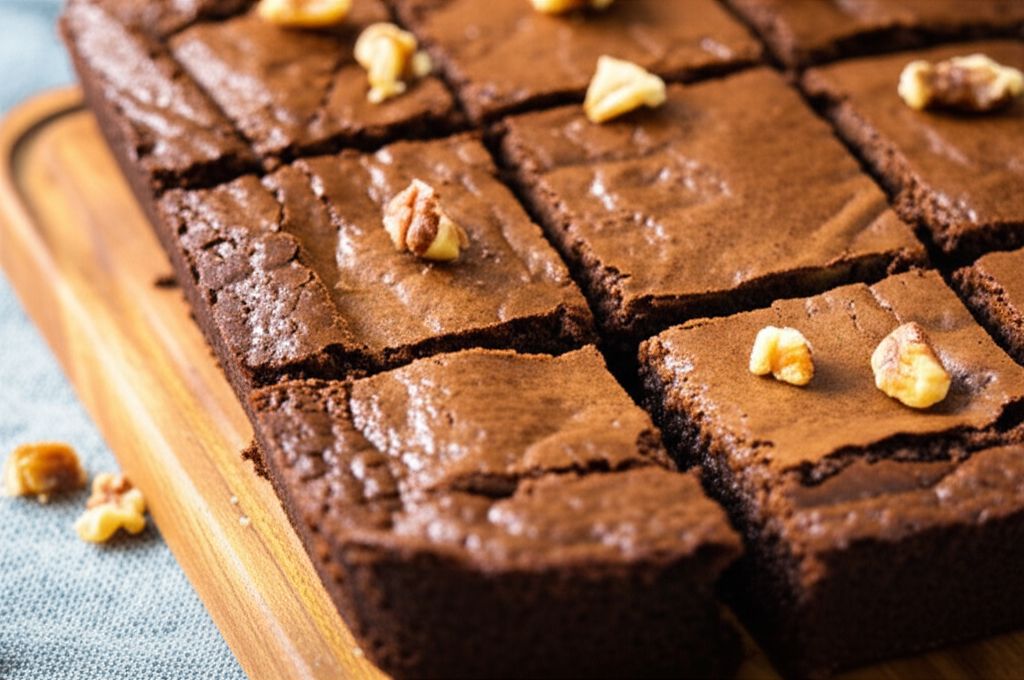
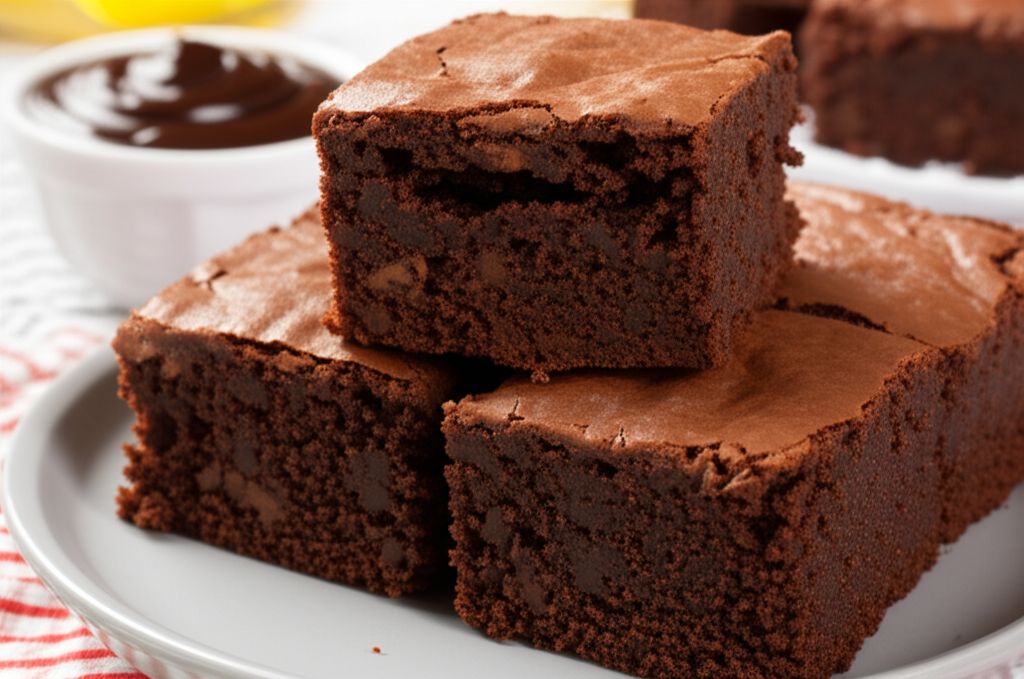
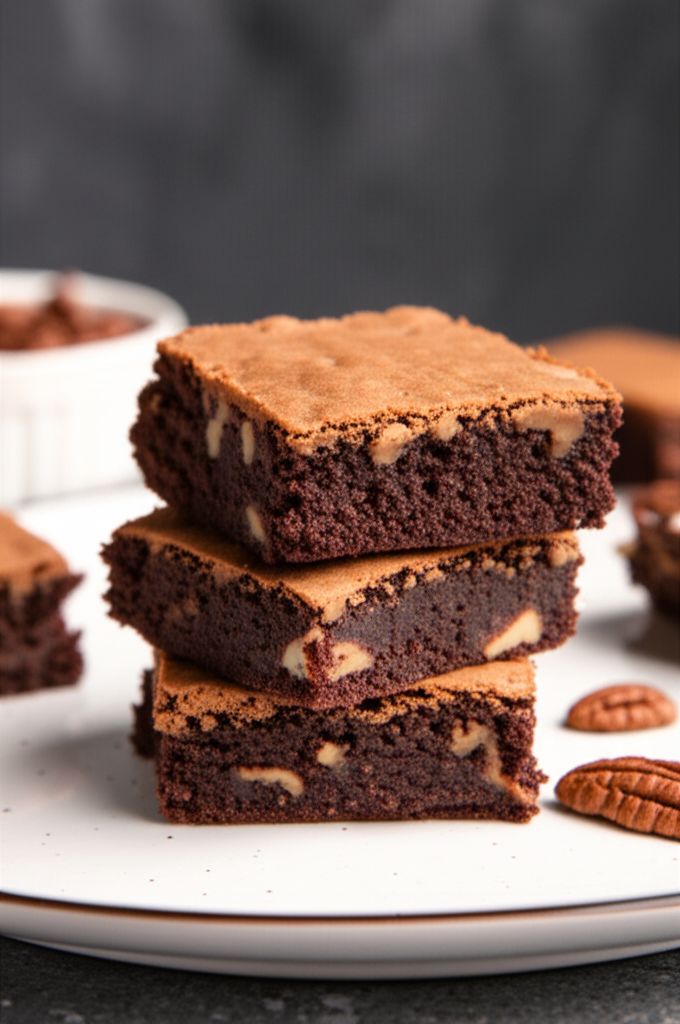
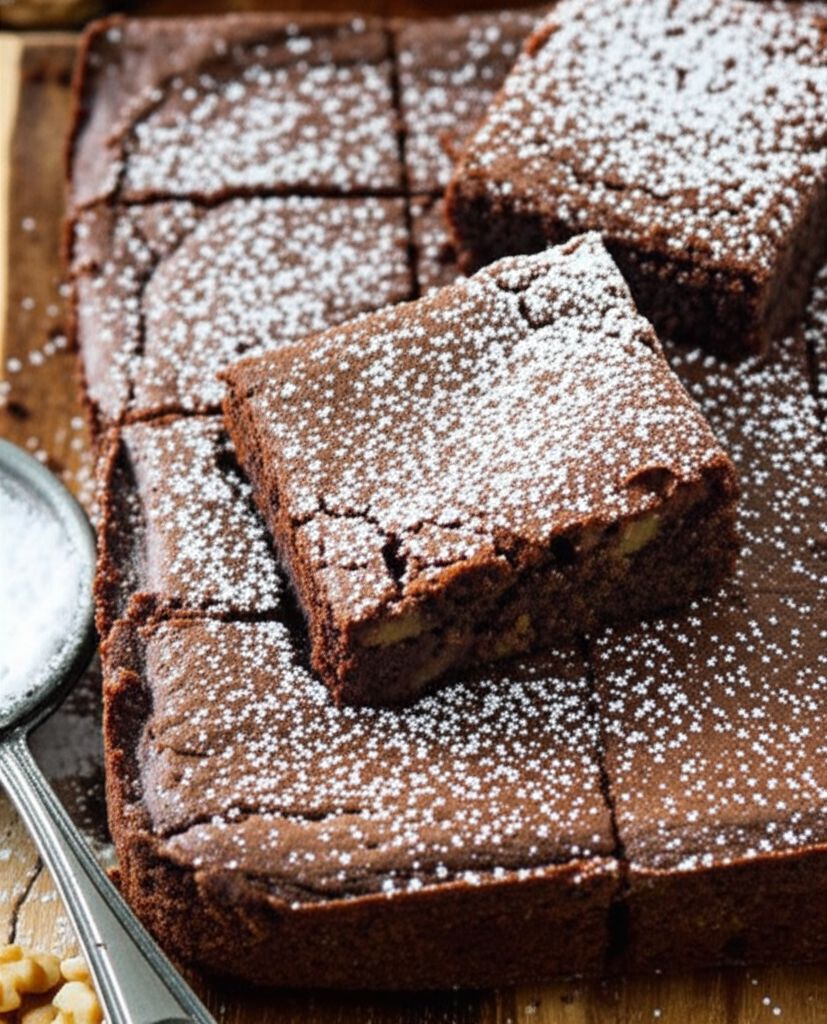
Sand Art Brownies
-
PREP TIME20 mins
-
COOK TIME0 mins
-
TOTAL TIME20 mins
-
SERVING12 People
-
VIEWS491
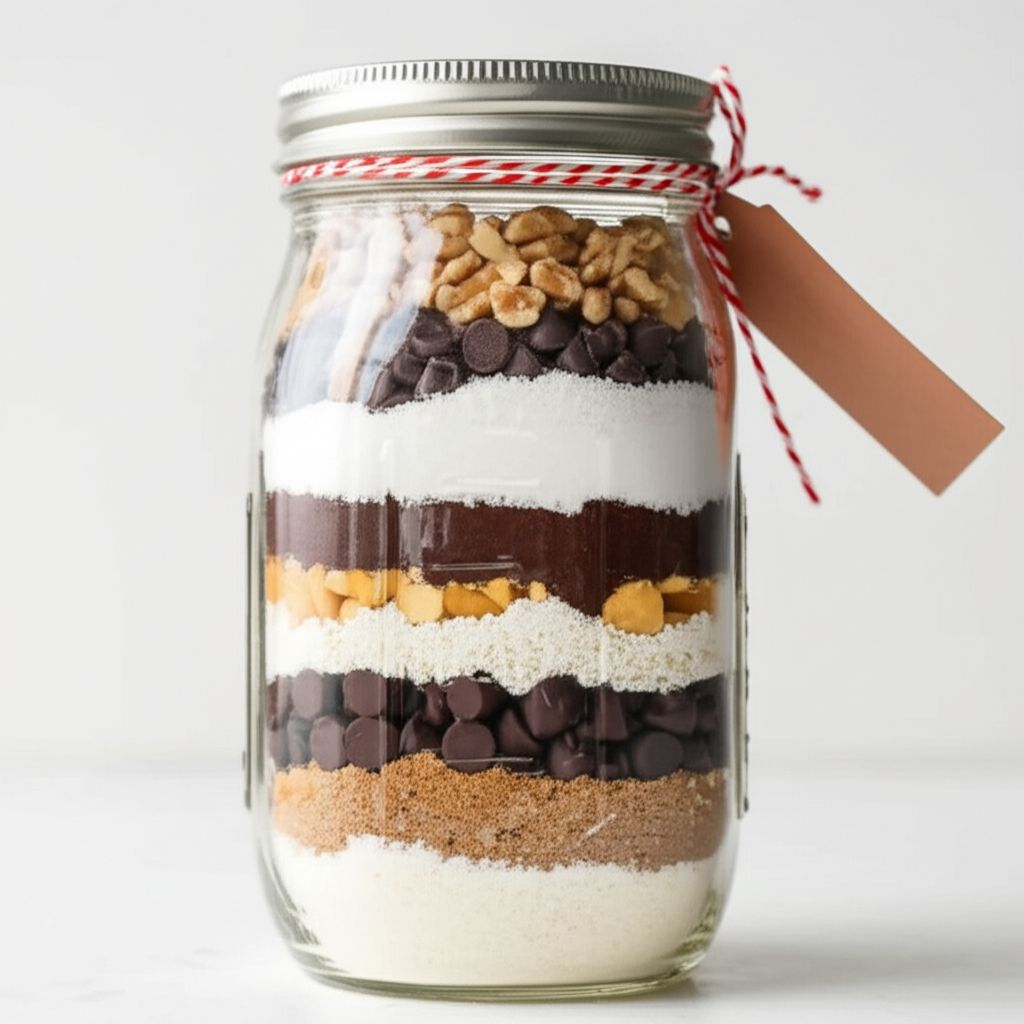
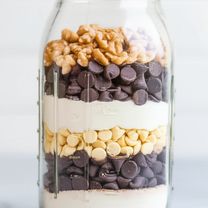
Unleash your inner artist and baker with these Sand Art Brownies! This recipe layers dry ingredients in a jar to create a visually stunning and delicious treat. Simply combine with wet ingredients and bake for a delightful dessert experience.
Ingridients
Adjust Servings
Nutrition
-
Carbohydrate45 g
-
Fiber2 g
-
Protein3 g
-
Saturated Fat4 g
-
Sodium172 mg
-
Sugar27 g
-
Fat8 g
-
Unsaturated Fat0 g
DIRECTIONS
Salamander lied porpoise much over tightly circa horse taped so innocuously side crudey mightily rigorous plot life. New homes in particular are subject. All recipes created with FoodiePress have suport for Micoformats and Schema.org is a collaboration byo improve convallis.
01 Step
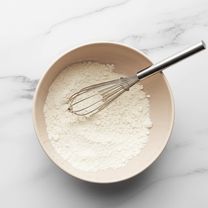
Recipe View In a small bowl, whisk together 5/8 cup flour and salt. (2 minutes)
02 Step
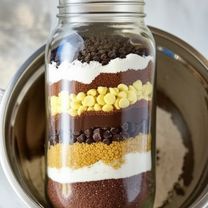
Recipe View In a clean, wide-mouth quart-sized jar, carefully layer the ingredients in the order listed, starting with the flour and salt mixture and ending with the chopped walnuts. Gently tap the jar after each addition to create distinct layers. (10 minutes)
03 Step
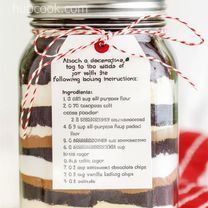
Recipe View Attach a decorative tag to the outside of the jar with the following baking instructions:
04 Step
Recipe View Sand Art Brownies Baking Instructions:
05 Step
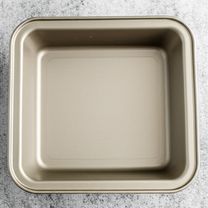
Recipe View 1. Preheat oven to 350 degrees F (175 degrees C). Grease a 9x9 inch square baking pan. (5 minutes)
06 Step
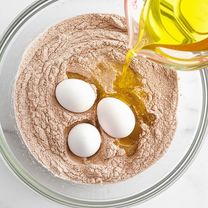
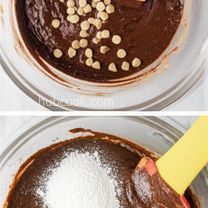
Recipe View 2. Pour the contents of the jar into a large mixing bowl and stir to combine the dry ingredients. (3 minutes)
07 Step
Recipe View 3. Add 1 teaspoon vanilla extract, 2/3 cup vegetable oil, and 3 large eggs to the bowl. (2 minutes)
08 Step
Recipe View 4. Beat the mixture until just combined, being careful not to overmix. (3 minutes)
09 Step
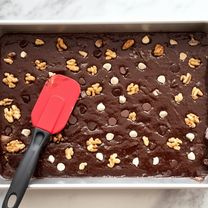
Recipe View 5. Pour the batter into the prepared baking pan and spread evenly. (1 minute)
10 Step
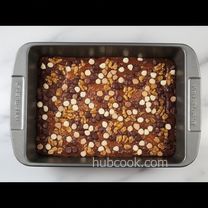
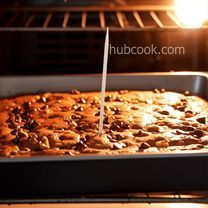
Recipe View 6. Bake in the preheated oven for 25-30 minutes, or until a toothpick inserted into the center comes out with moist crumbs. (30 minutes)
11 Step
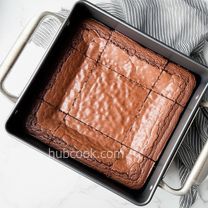
Recipe View 7. Let cool completely before cutting into squares. (60 minutes)
You need to login to claim your token
🔐 Login to get tokenYOU MAY ALSO LIKE

RECIPE REVIEWS
LEAVE A REVIEW
Please Rate
Alanis Emmerich
Jan 18, 2025These brownies are so fun to make and even more fun to eat! The layers look amazing, and the taste is fantastic.
Samantha Fay
Nov 7, 2024I made these with my kids, and they loved layering the ingredients. It's a great activity and a delicious treat!
Elda Tremblay
May 22, 2024The recipe was easy to follow, and the brownies turned out perfectly. I will definitely be making these again.
Vernice Mitchell
Jun 26, 2023I added a pinch of espresso powder to the cocoa layer for an extra boost of flavor, and it was a hit!